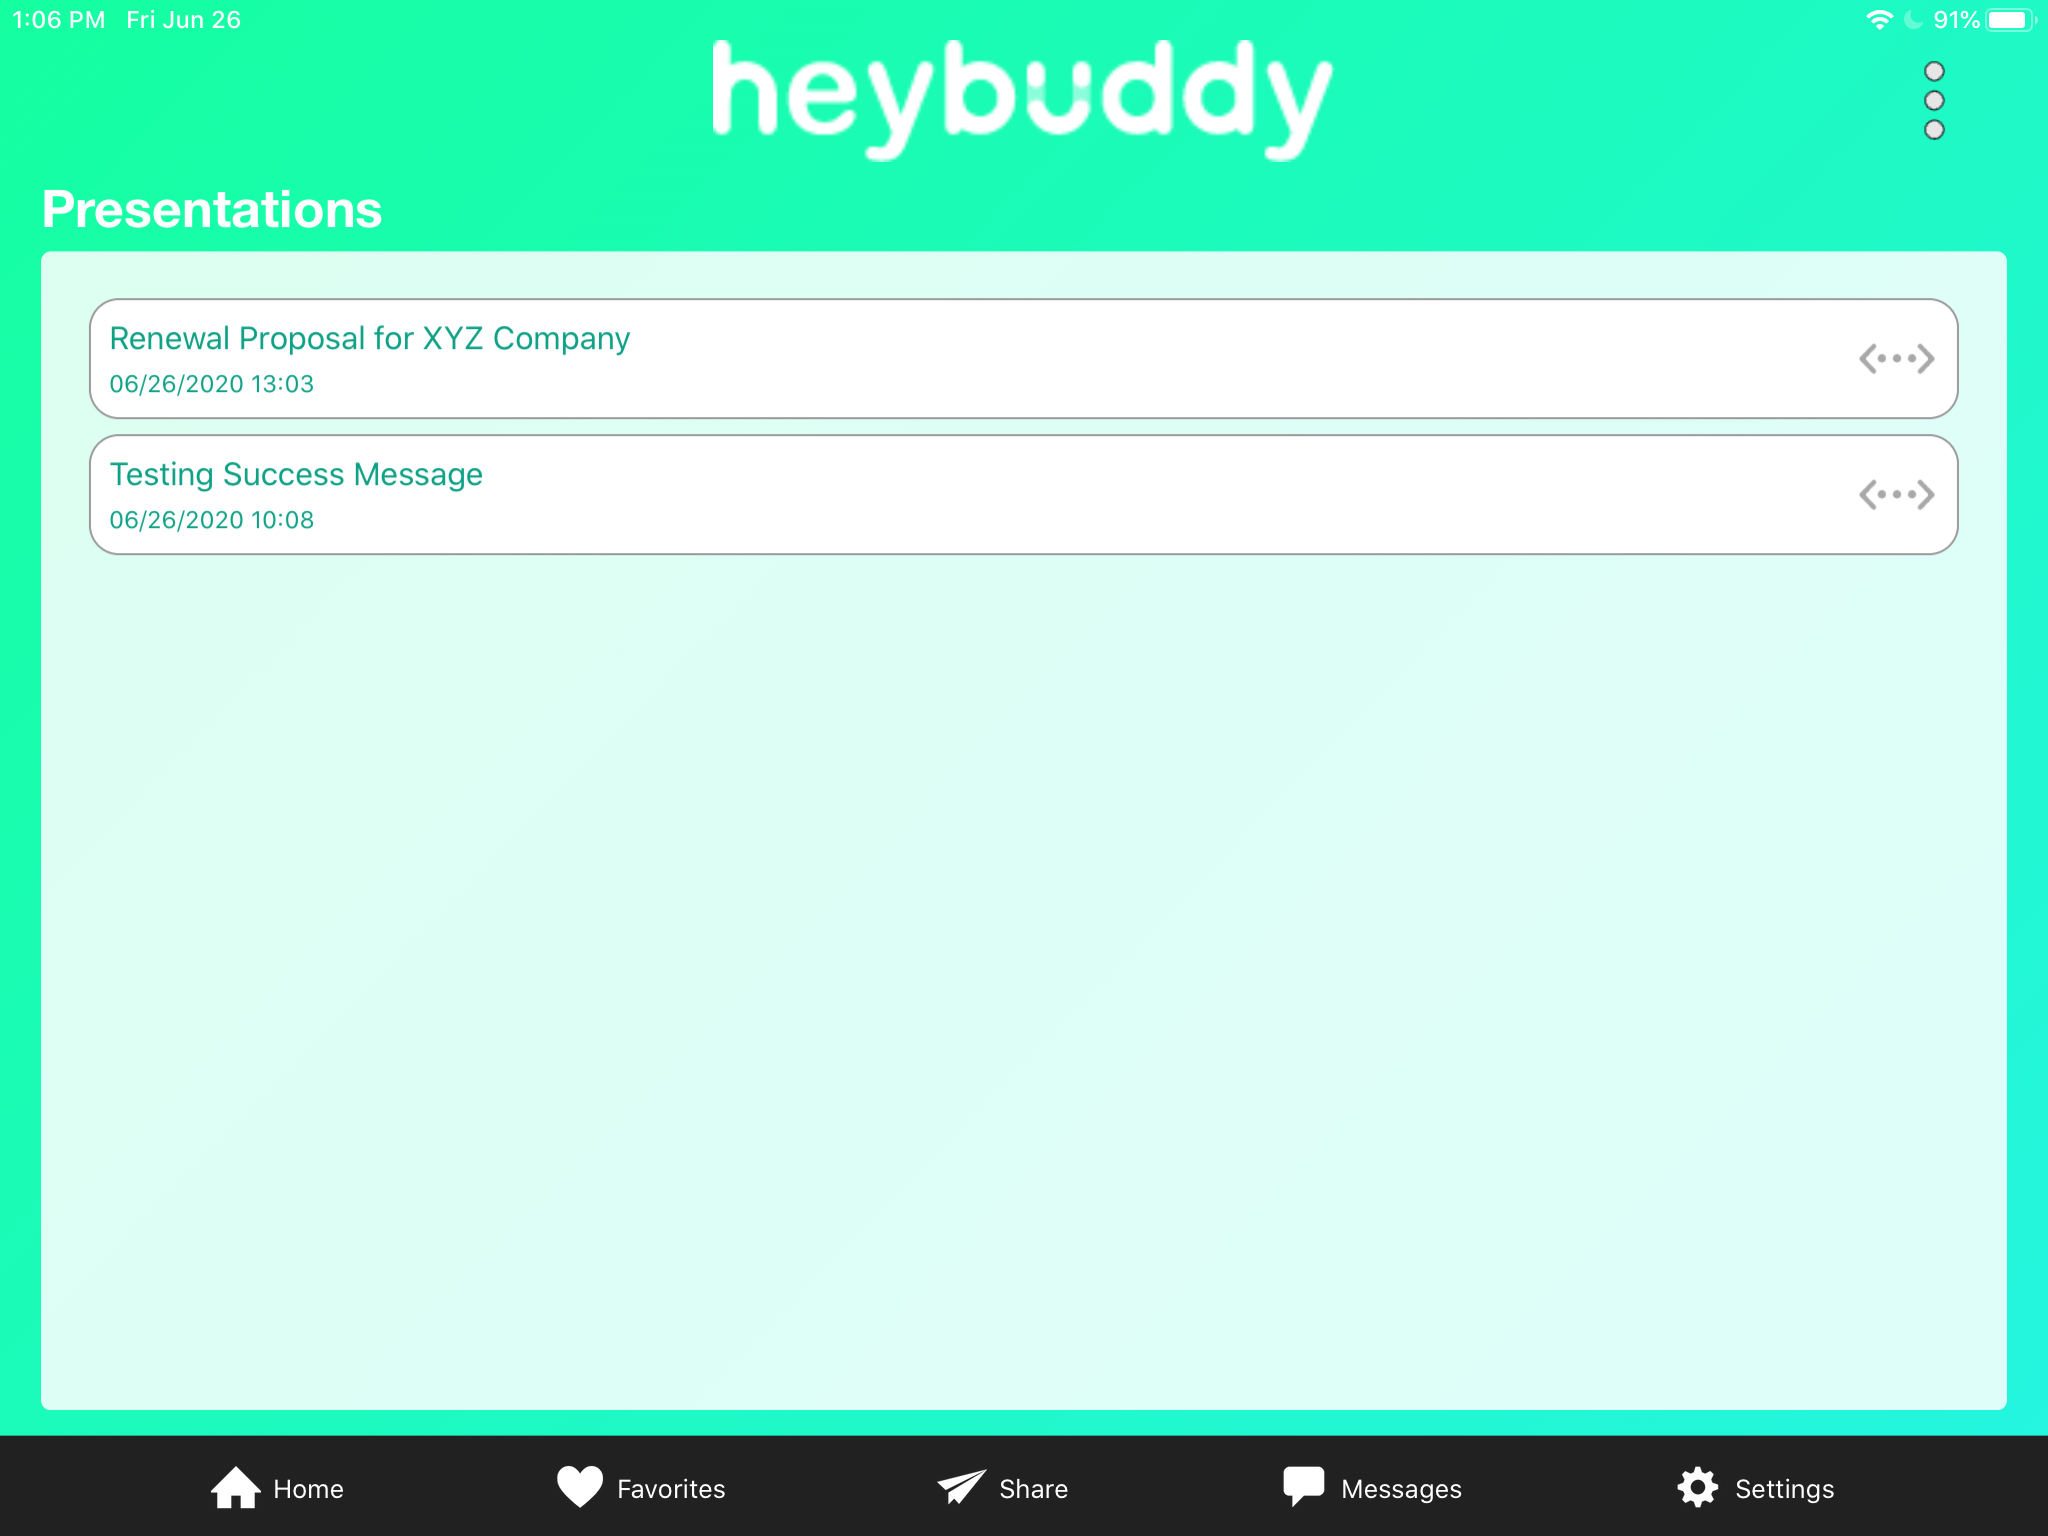
The 'Share' page will have a list of all presentations that you've created. The list will be in alphabetical order and will also have a date/timestamp visible.
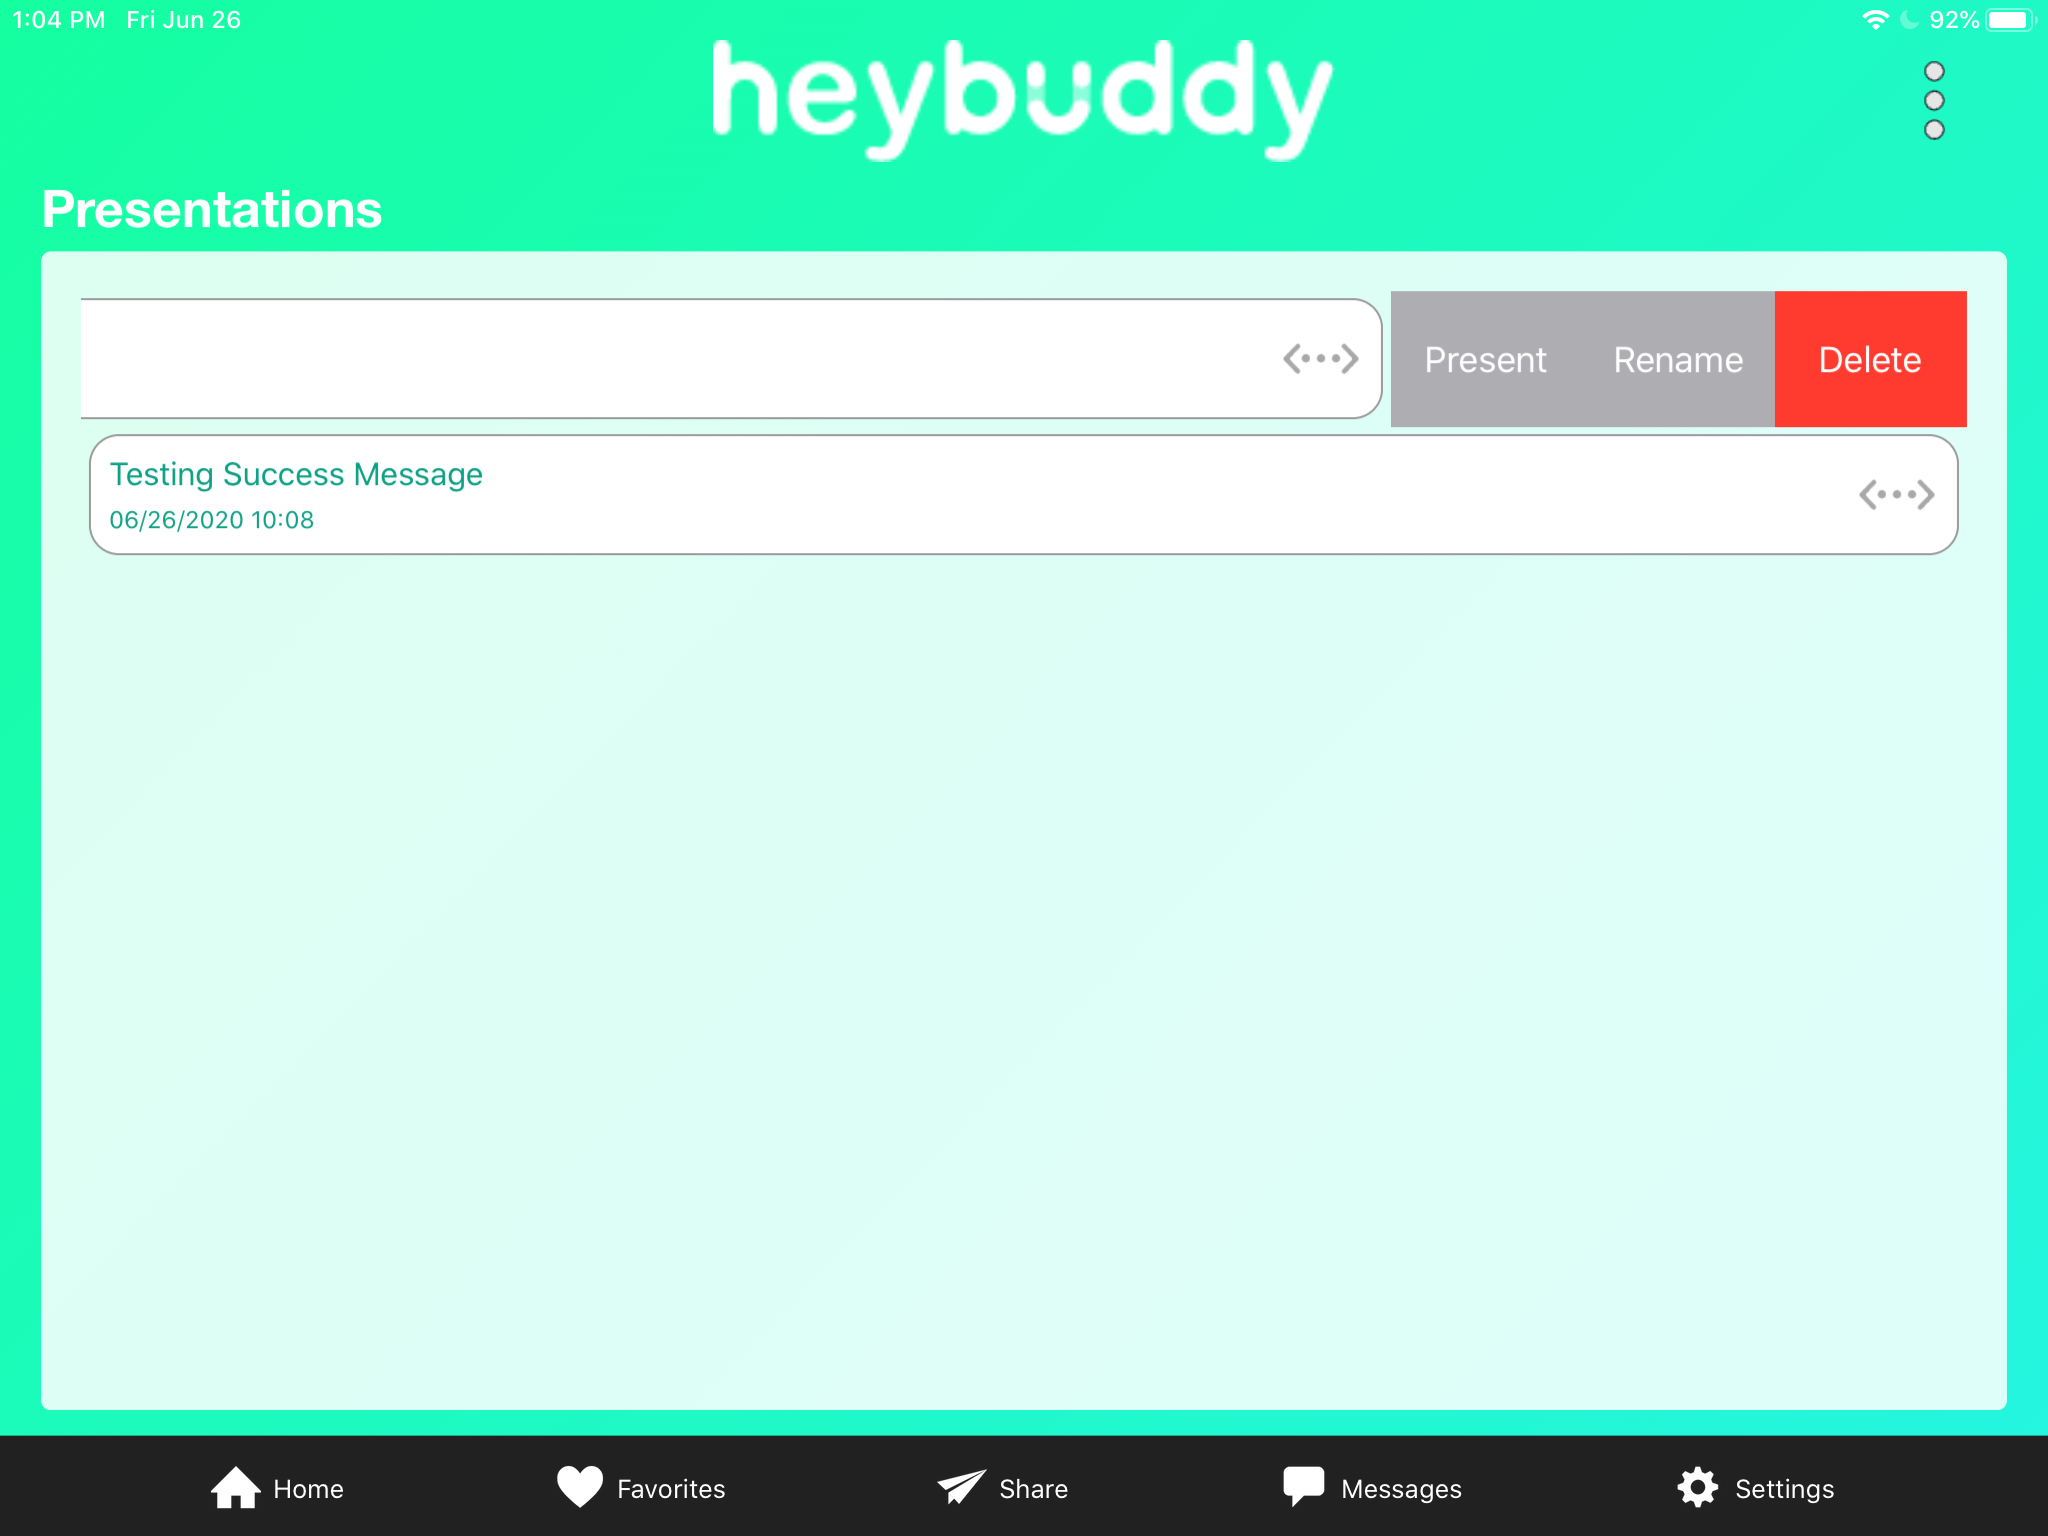
You can also Delete and Rename your Presentations from this screen. Simply swipe left on any presentation to expose these actions.
Clicking the Present button will allow you to expand your Presentation into view mode where you can scroll through its content.
Tap the corresponding Presentation to open the 'Editor’ view, where you will see the contents of your recorded presentation on the right side of the pane, and all available content on the left side of the pane.
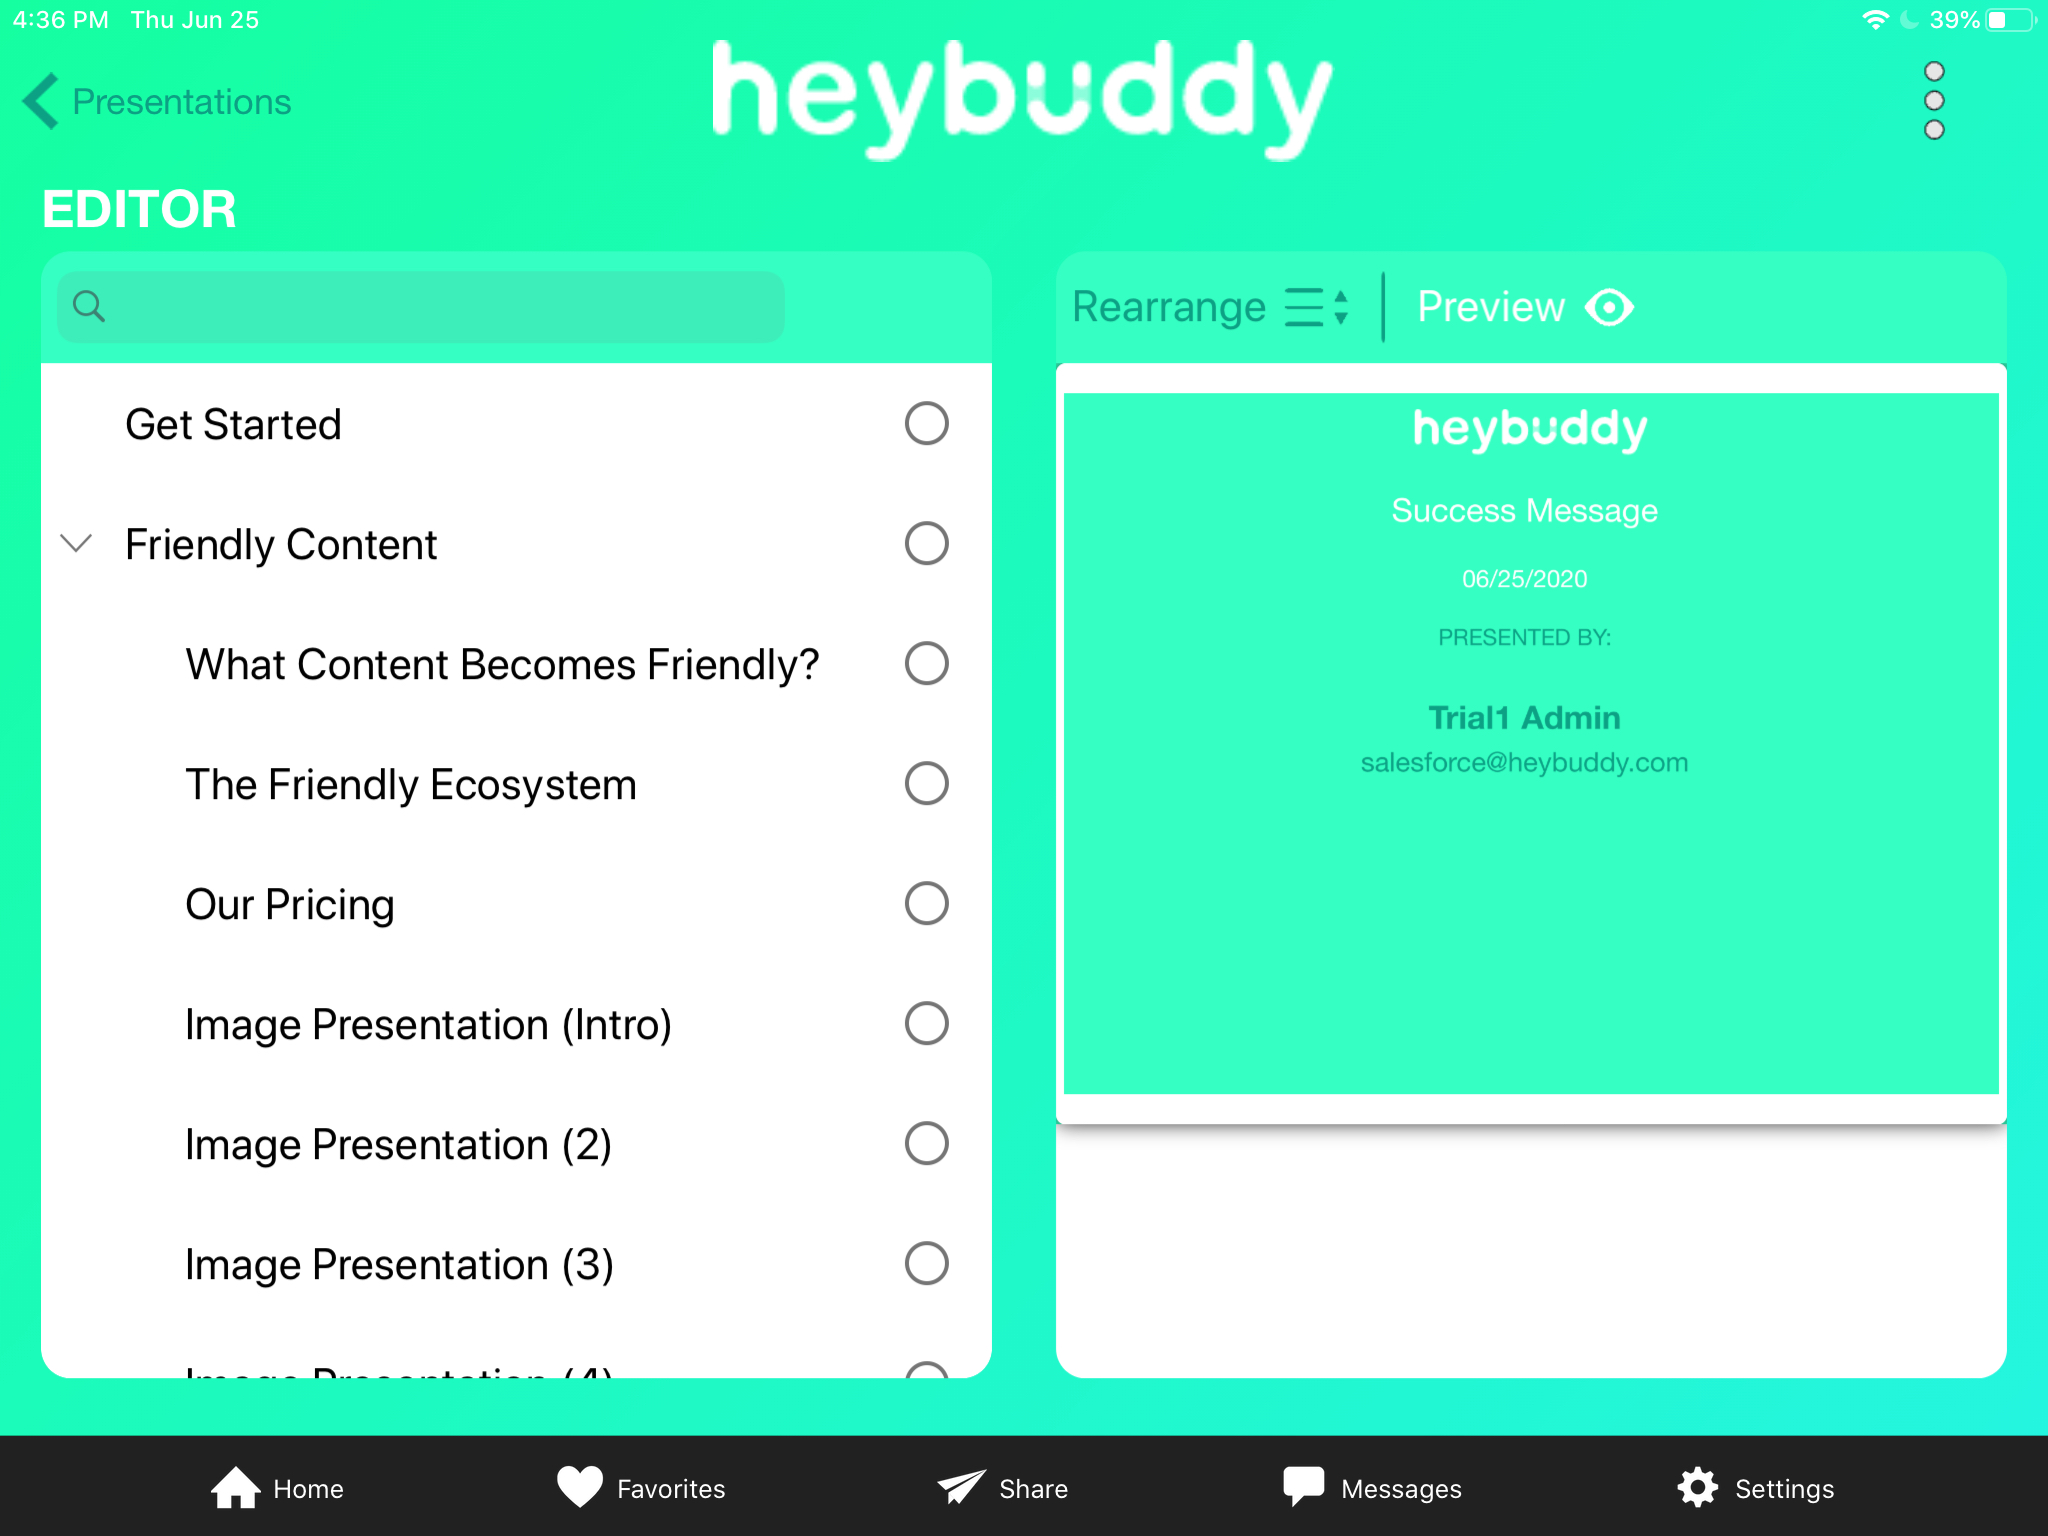
You’ll notice next to each piece of content on the left side of the pane is a check circle. All content you saved in your presentation (and viewable on the right side of the pane) has a checkmark.
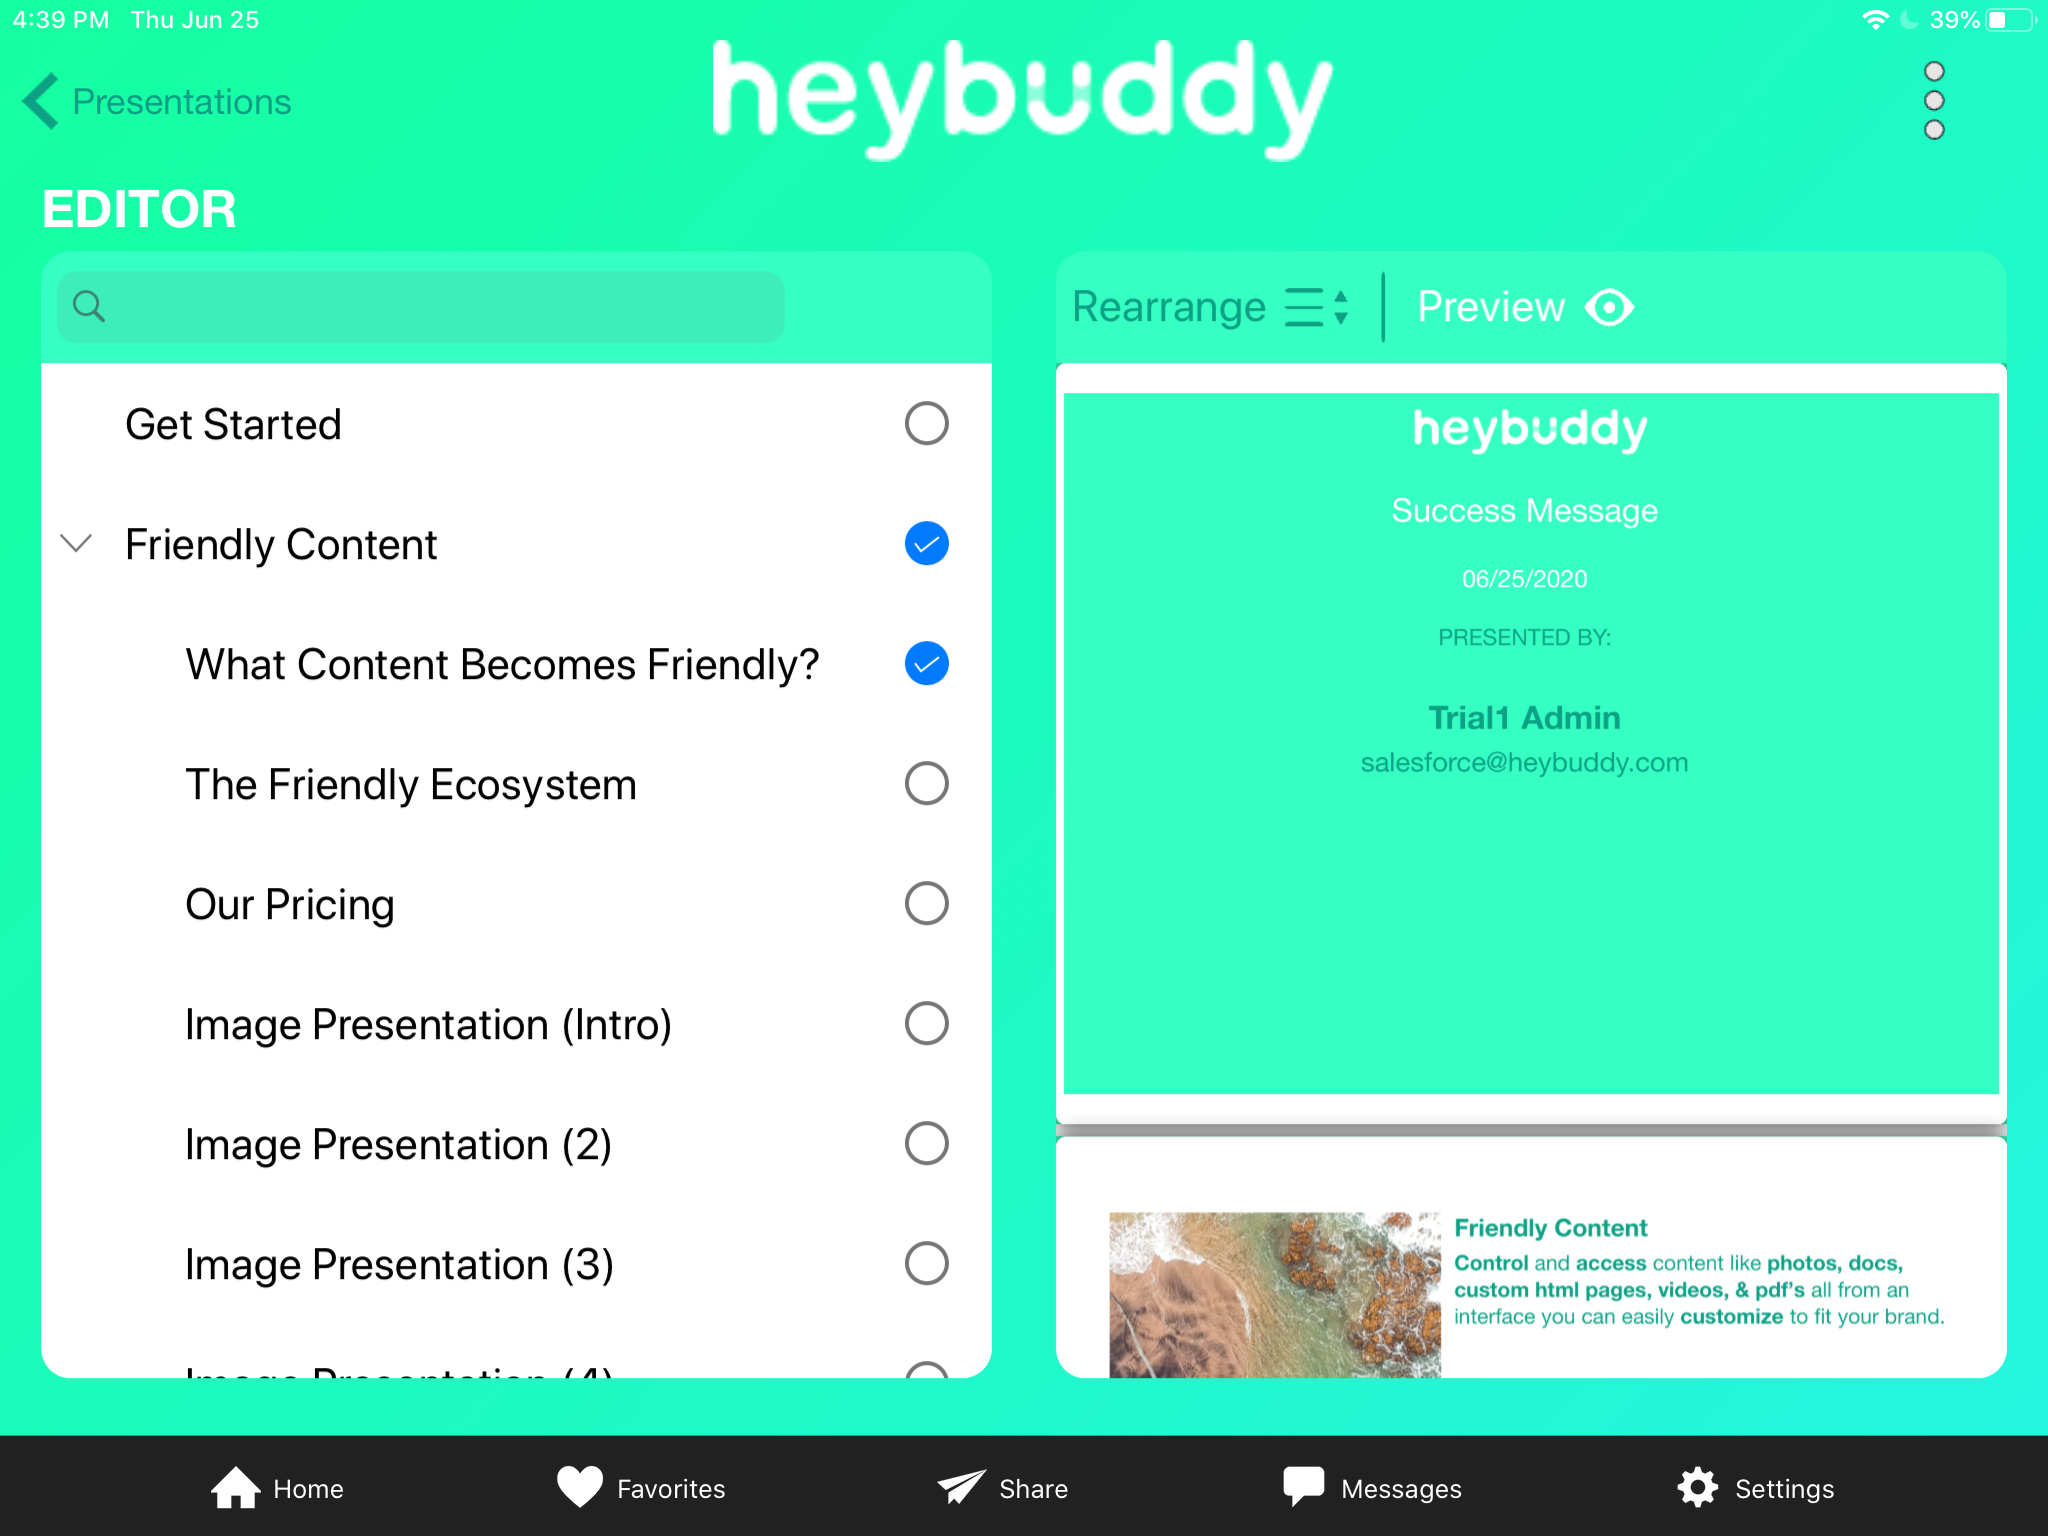
If, when reviewing the content captured from your presentation, you realize that you are missing valuable content, you can find this additional content on the left side of the pane, and ‘check’ the circle beside the content. That content will immediately be added to your presentation on the right side of the pane. Continue adding (or removing, by unchecking content), until you have compiled the exact presentation to follow up with your client.
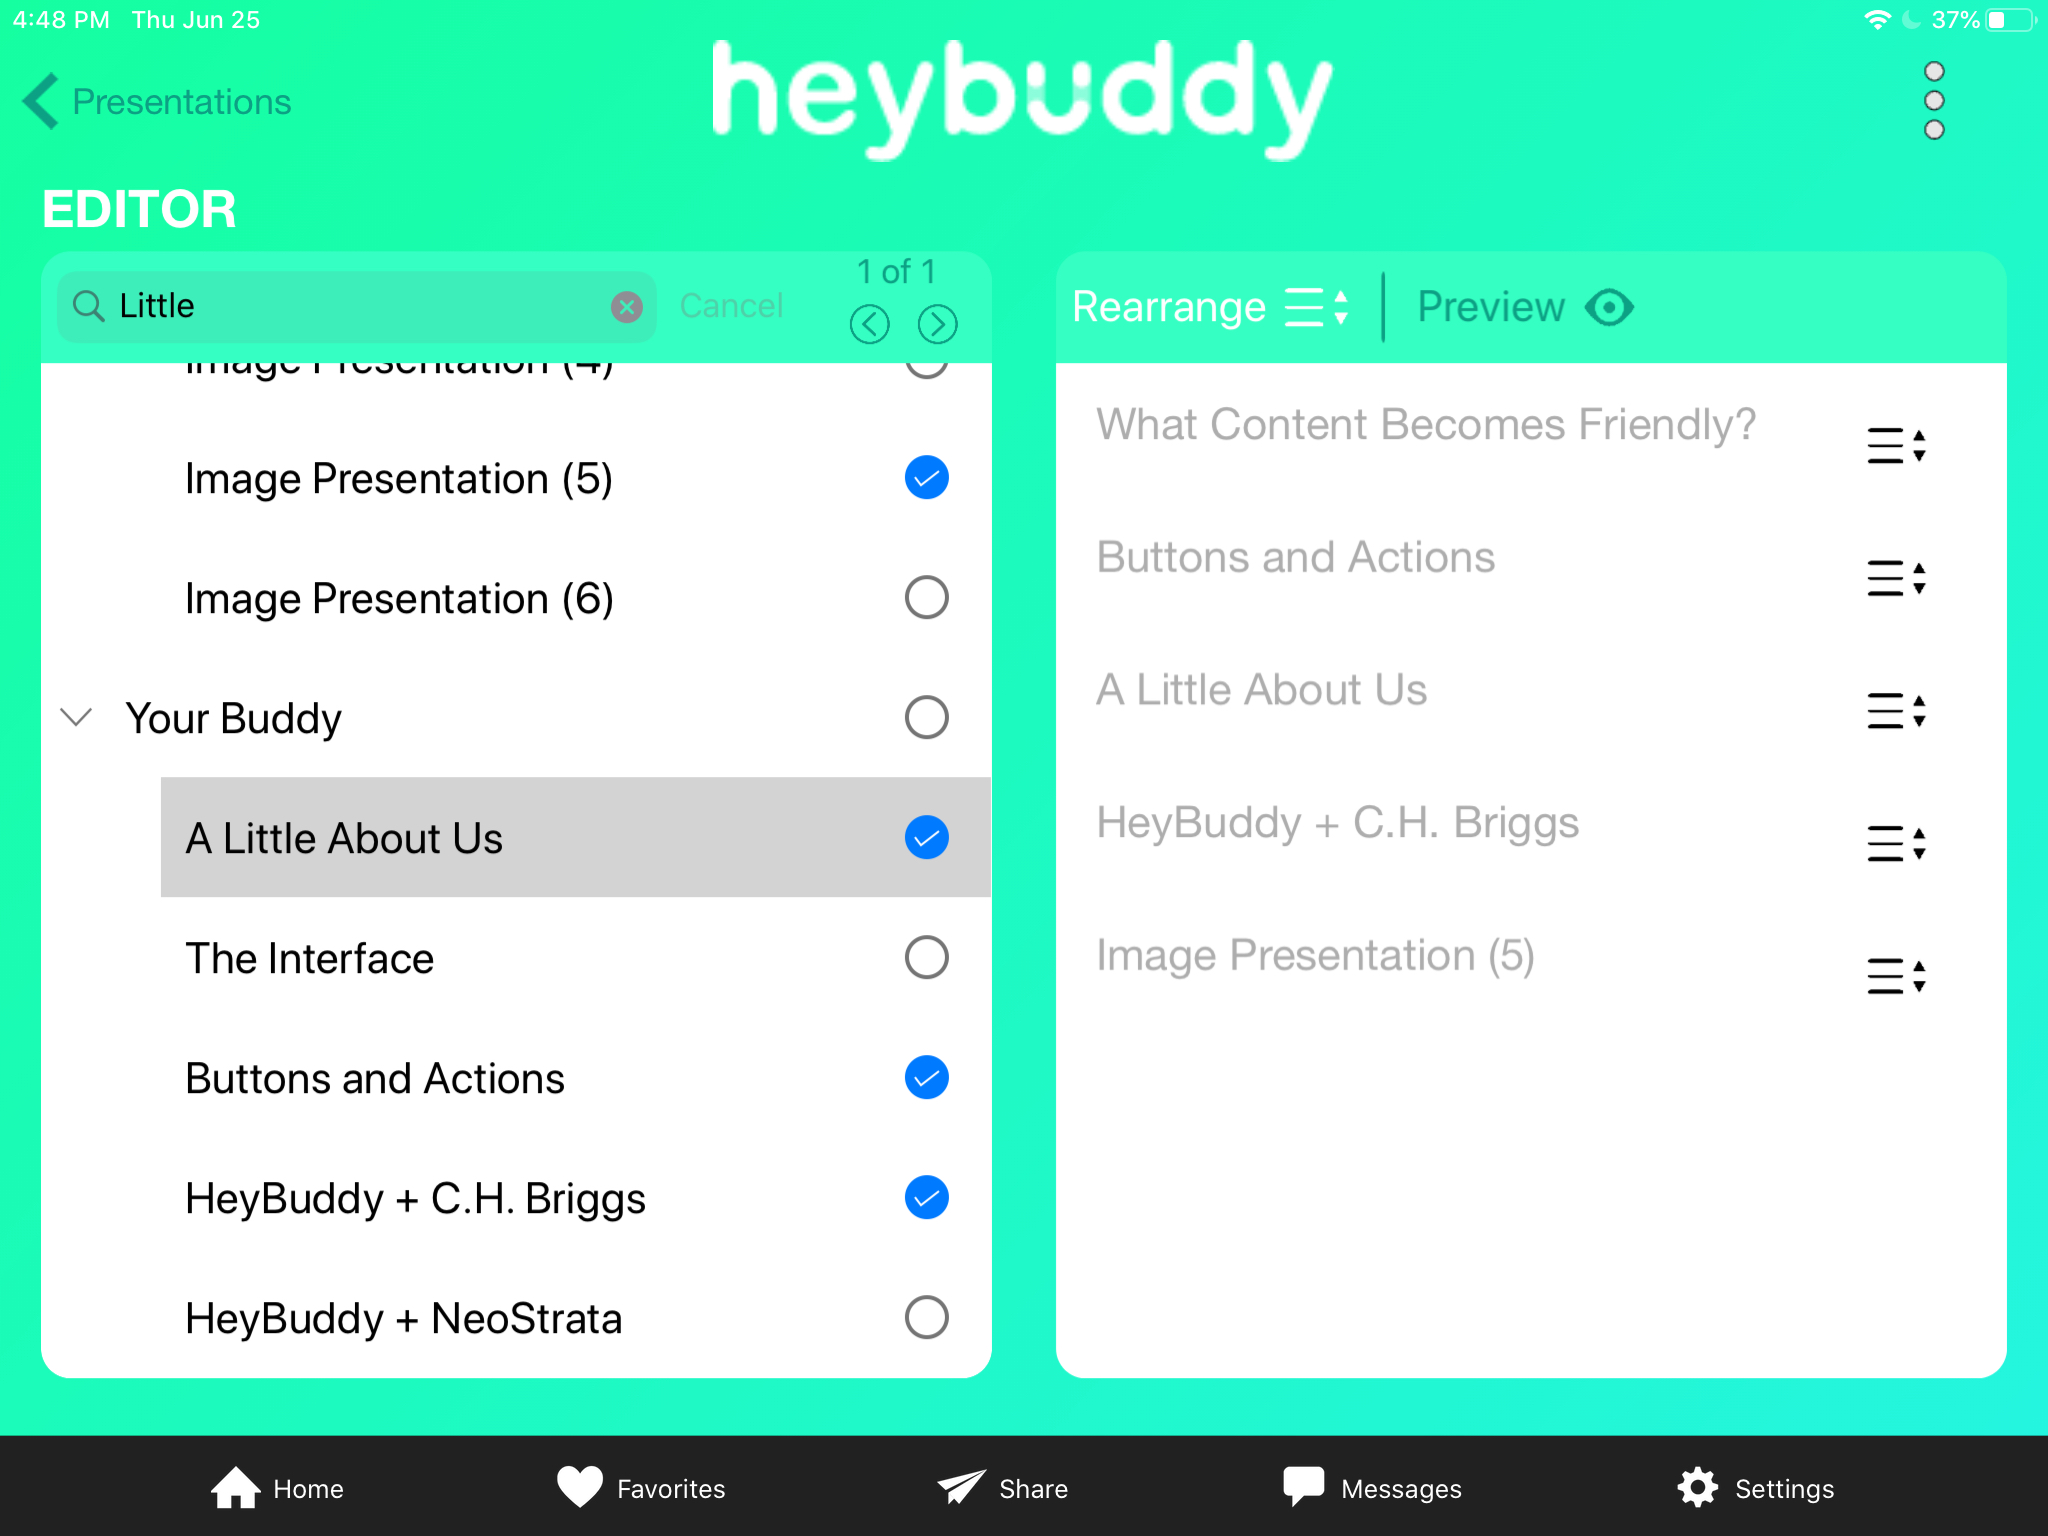
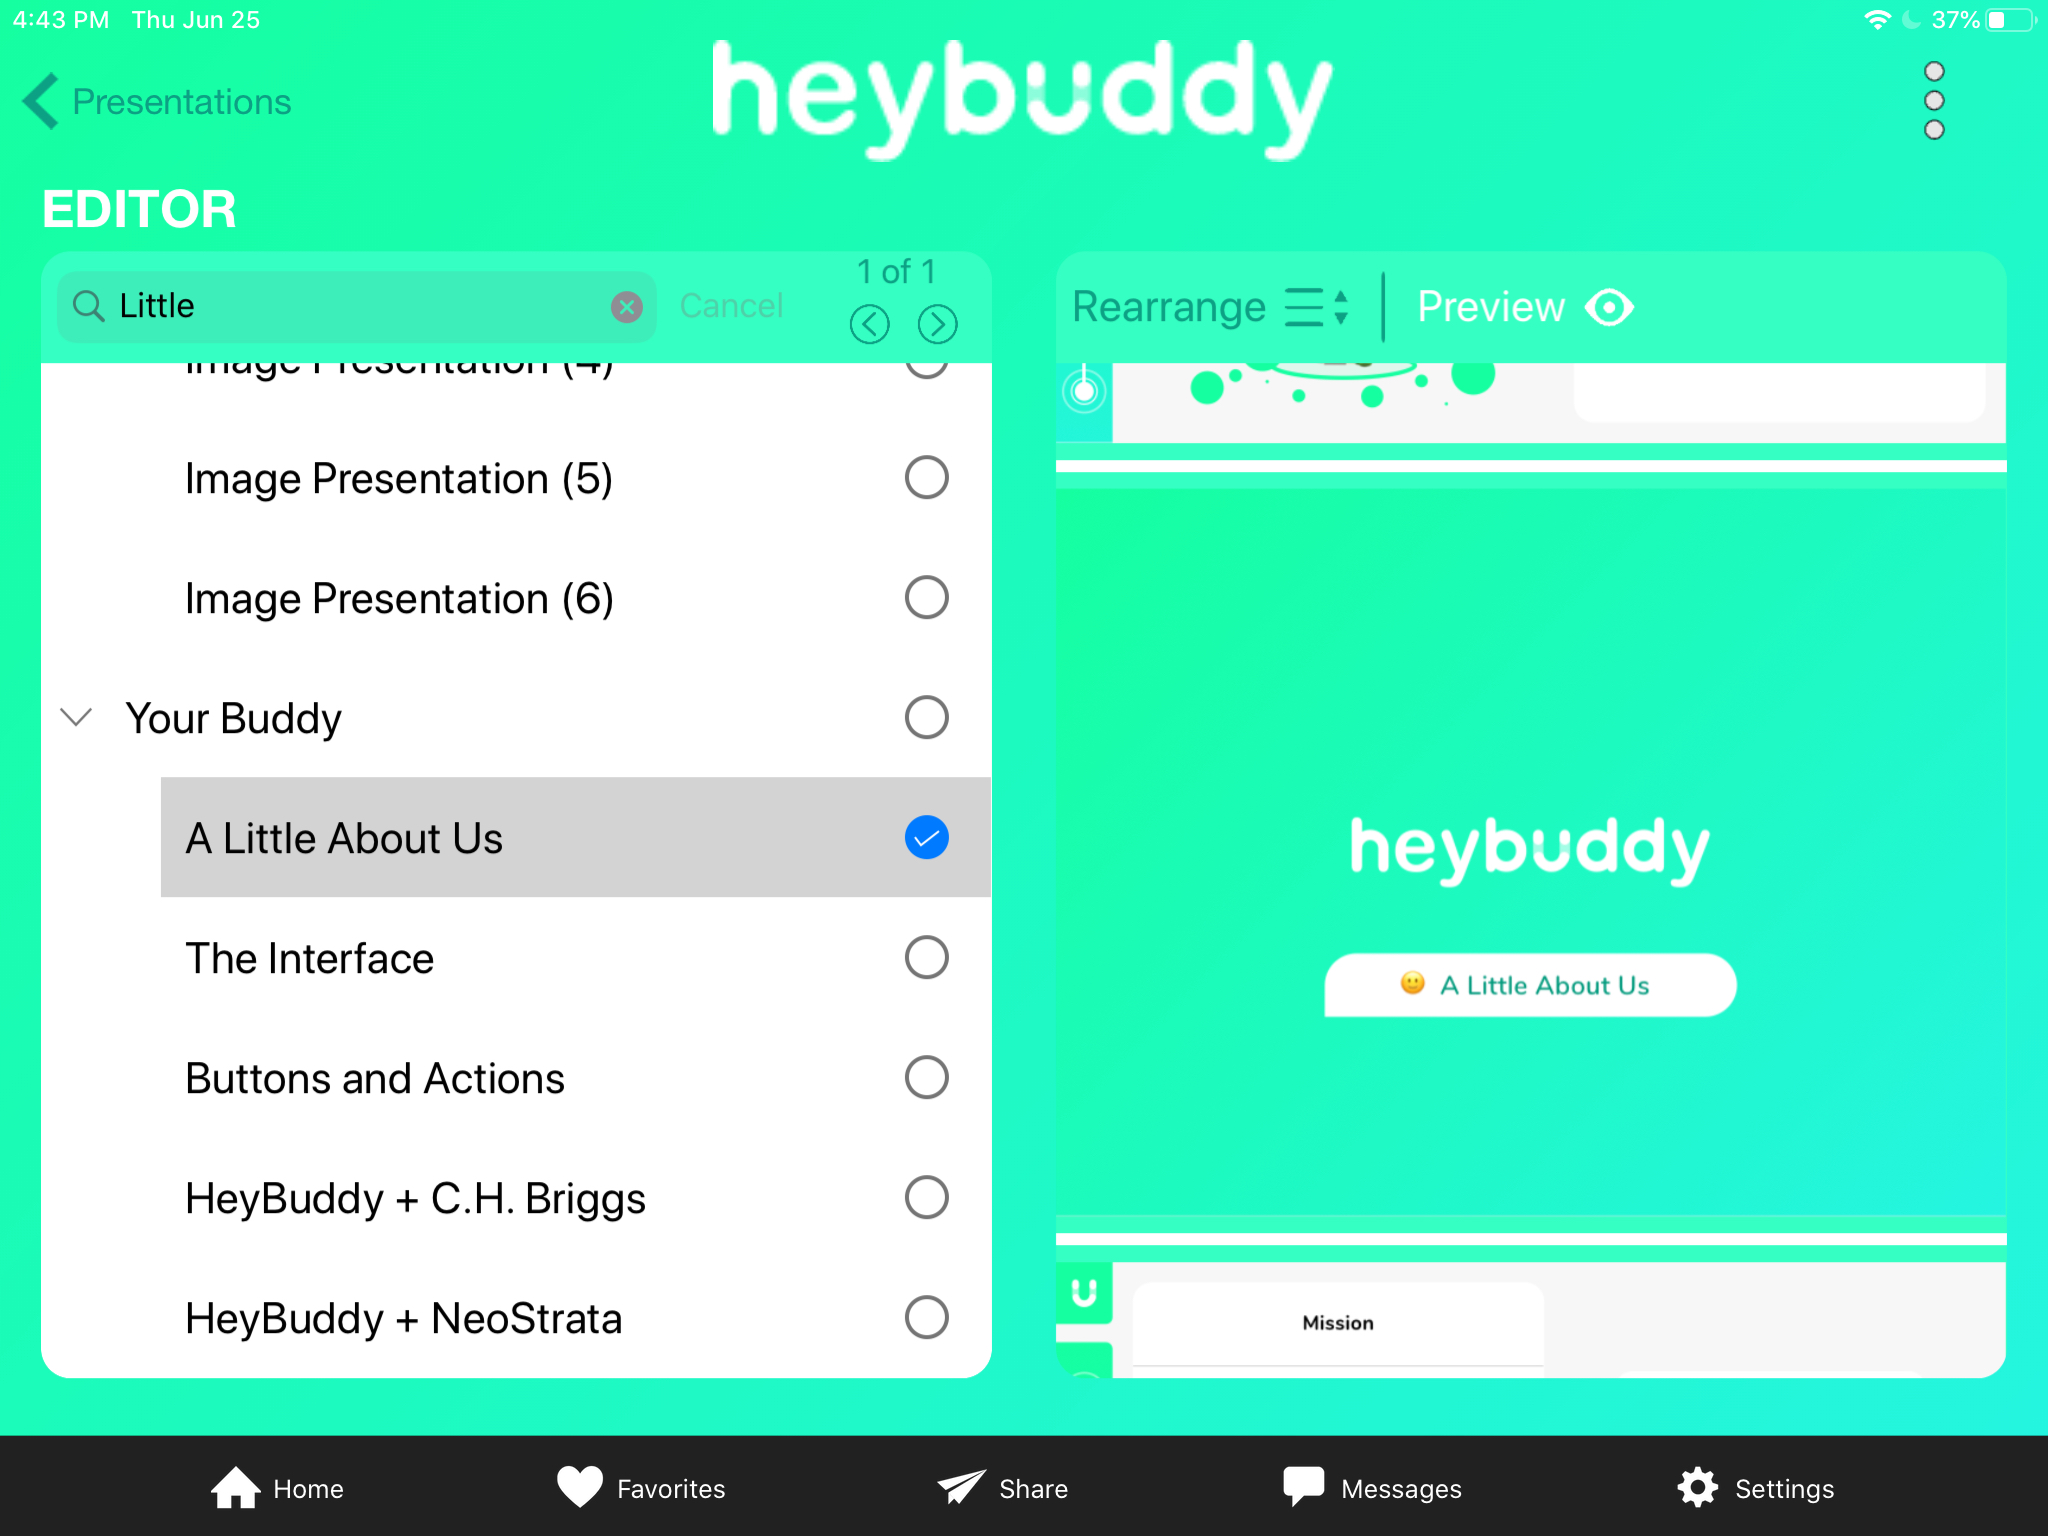
You can search for a keyword to find specific content you might be looking for. Content matching your search word will be highlighted and you can scroll through each match to find what you're looking for. Once you've found it, simply check it off to include it in your presentation.
On the right pane, you will land in Preview mode. This will display the entire contents of your presentation and allow you to scroll through it.
Toggle to the Rearrange mode to reorder the content. This powerful tool allows you to drag and drop your content into the perfect order.