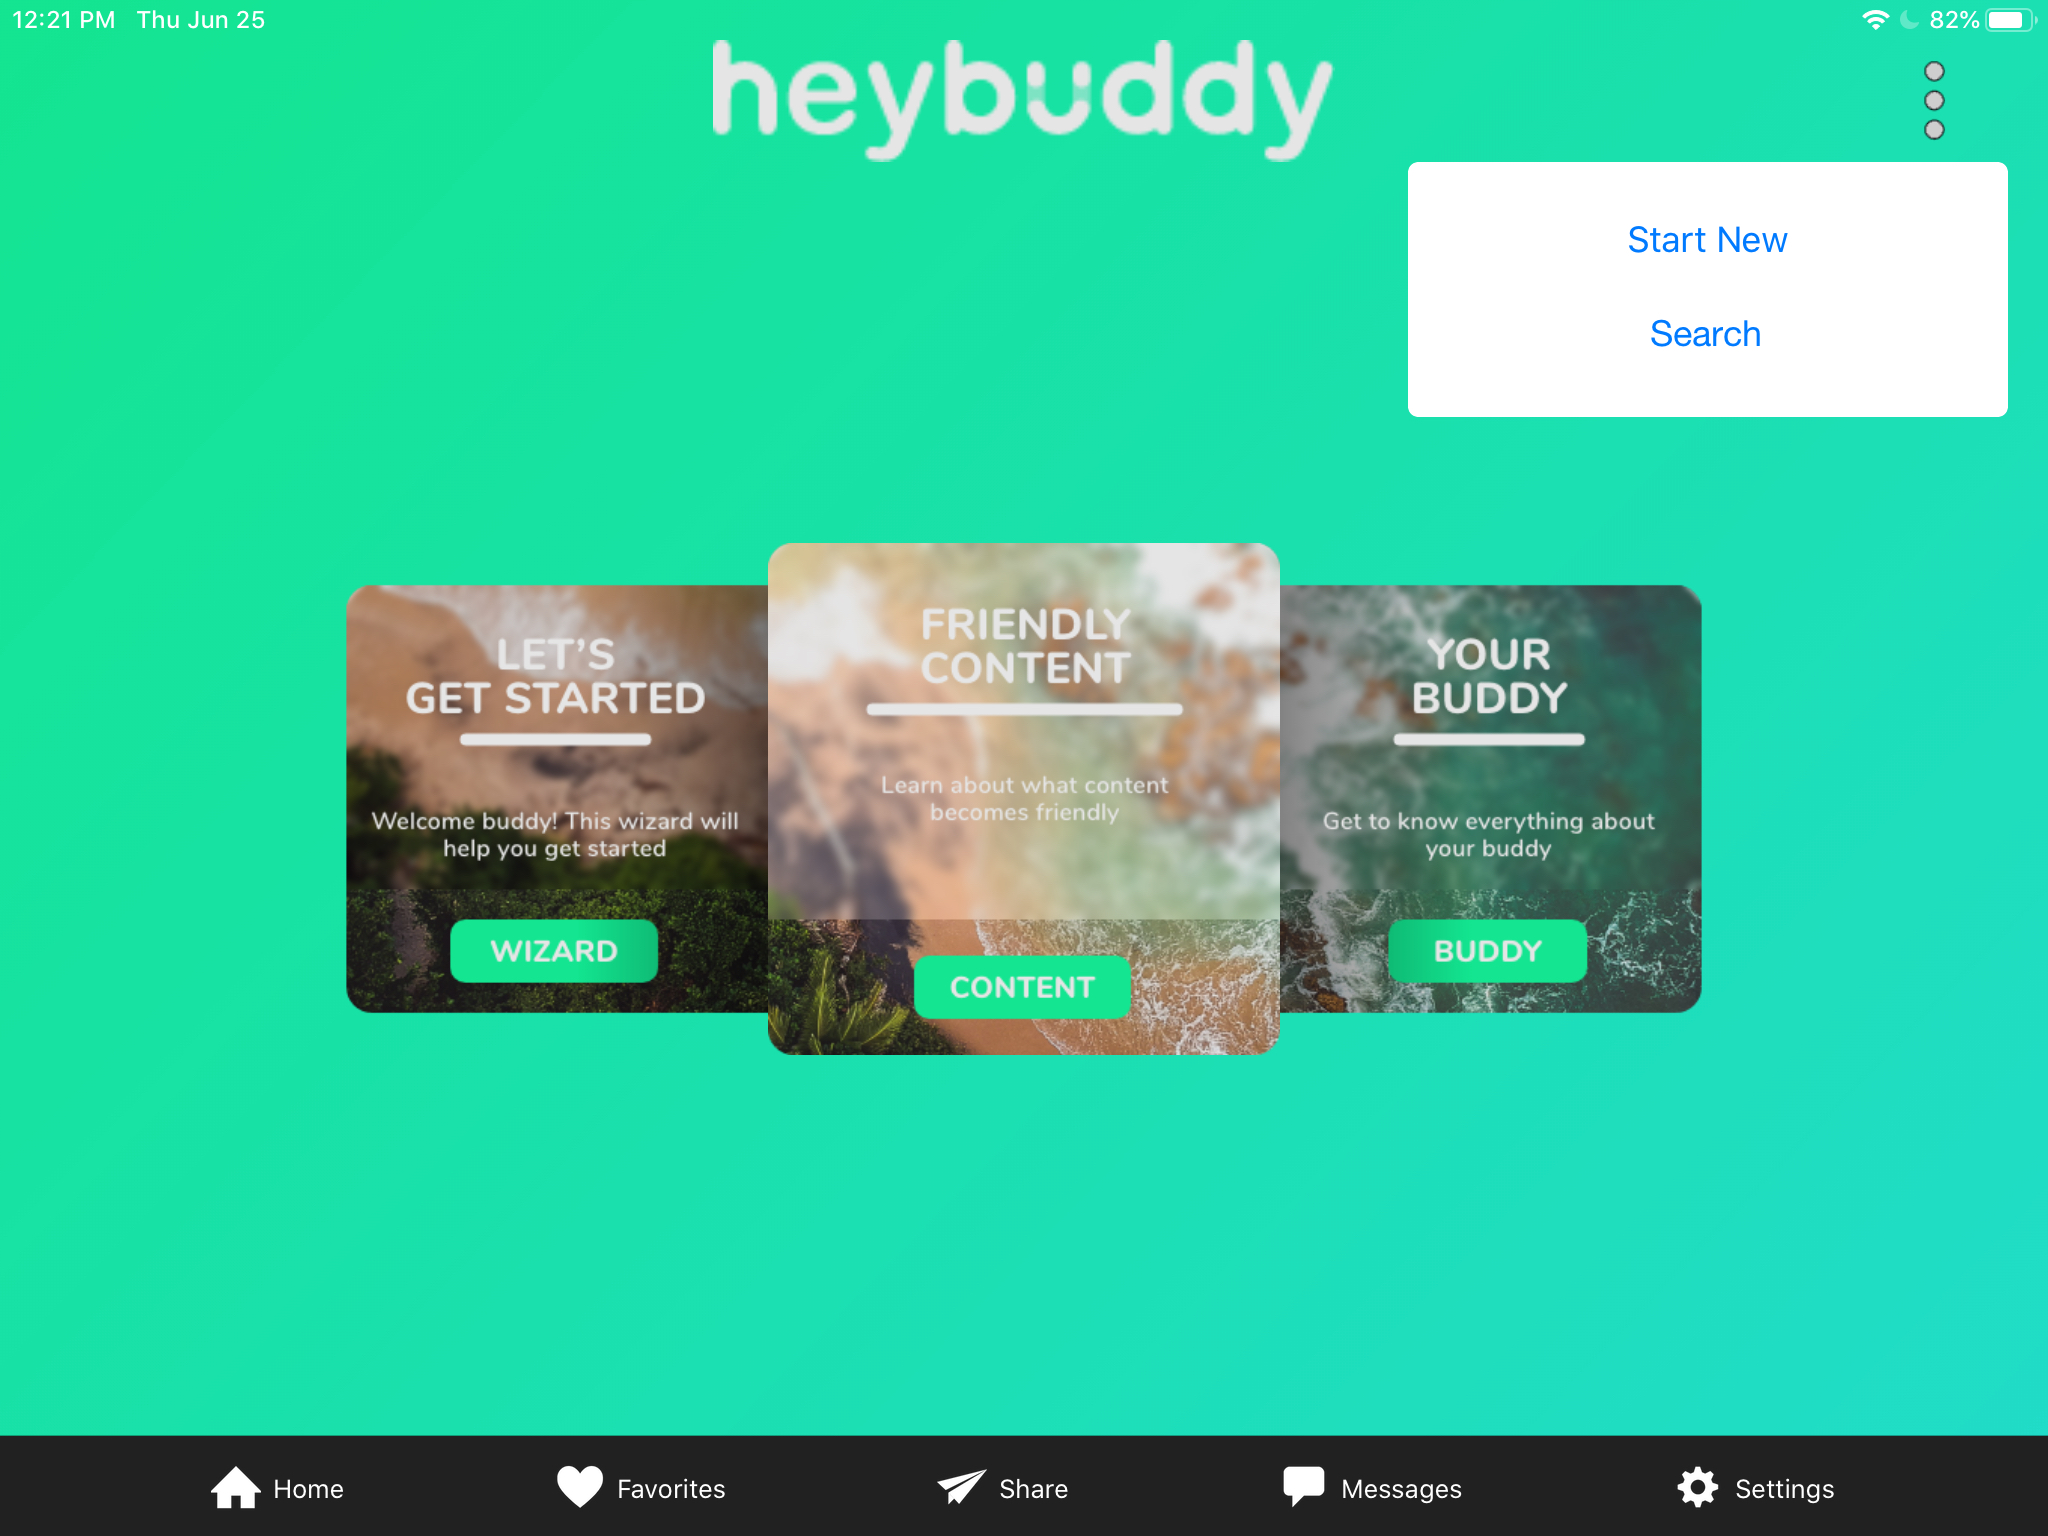
HeyBuddy is perhaps most excited about its ability to dynamically create and save a presentation. To begin the process of creating a presentation, click the Actions Menu (three ellipses) at the top right screen from any page within the App and then click "Start New".
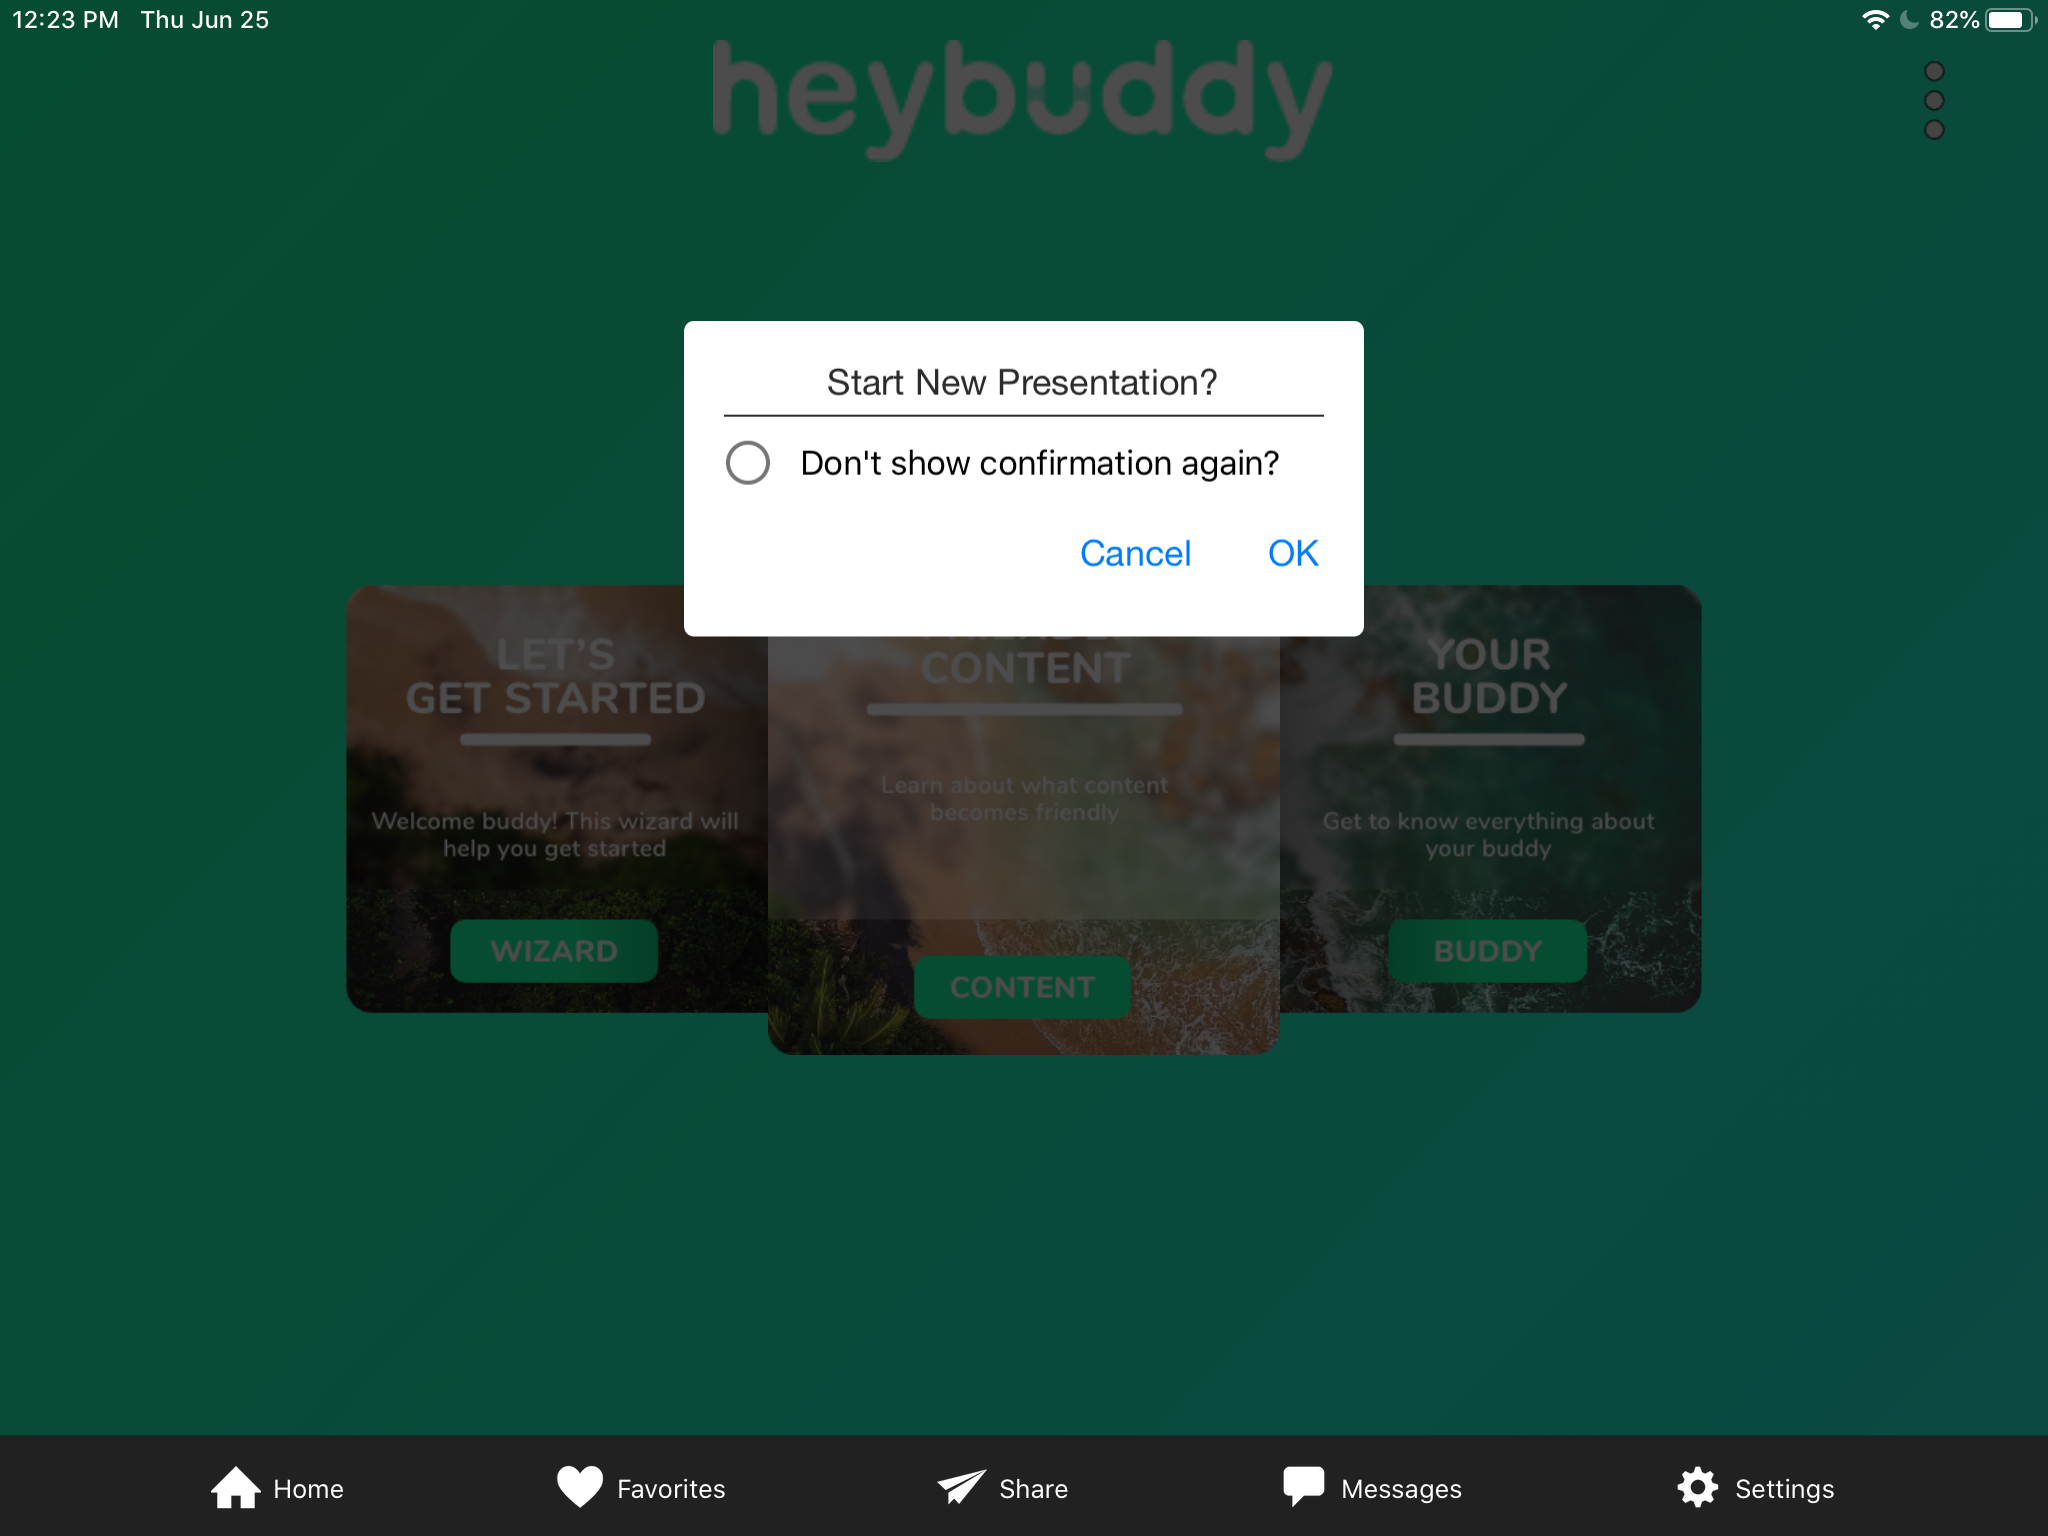
After clicking "Start New", you'll receive a confirmation window and have the option to not show this window again. To start a new presentation, click OK and HeyBuddy will begin to save all of the slides/content reviewed in your sales presentation.
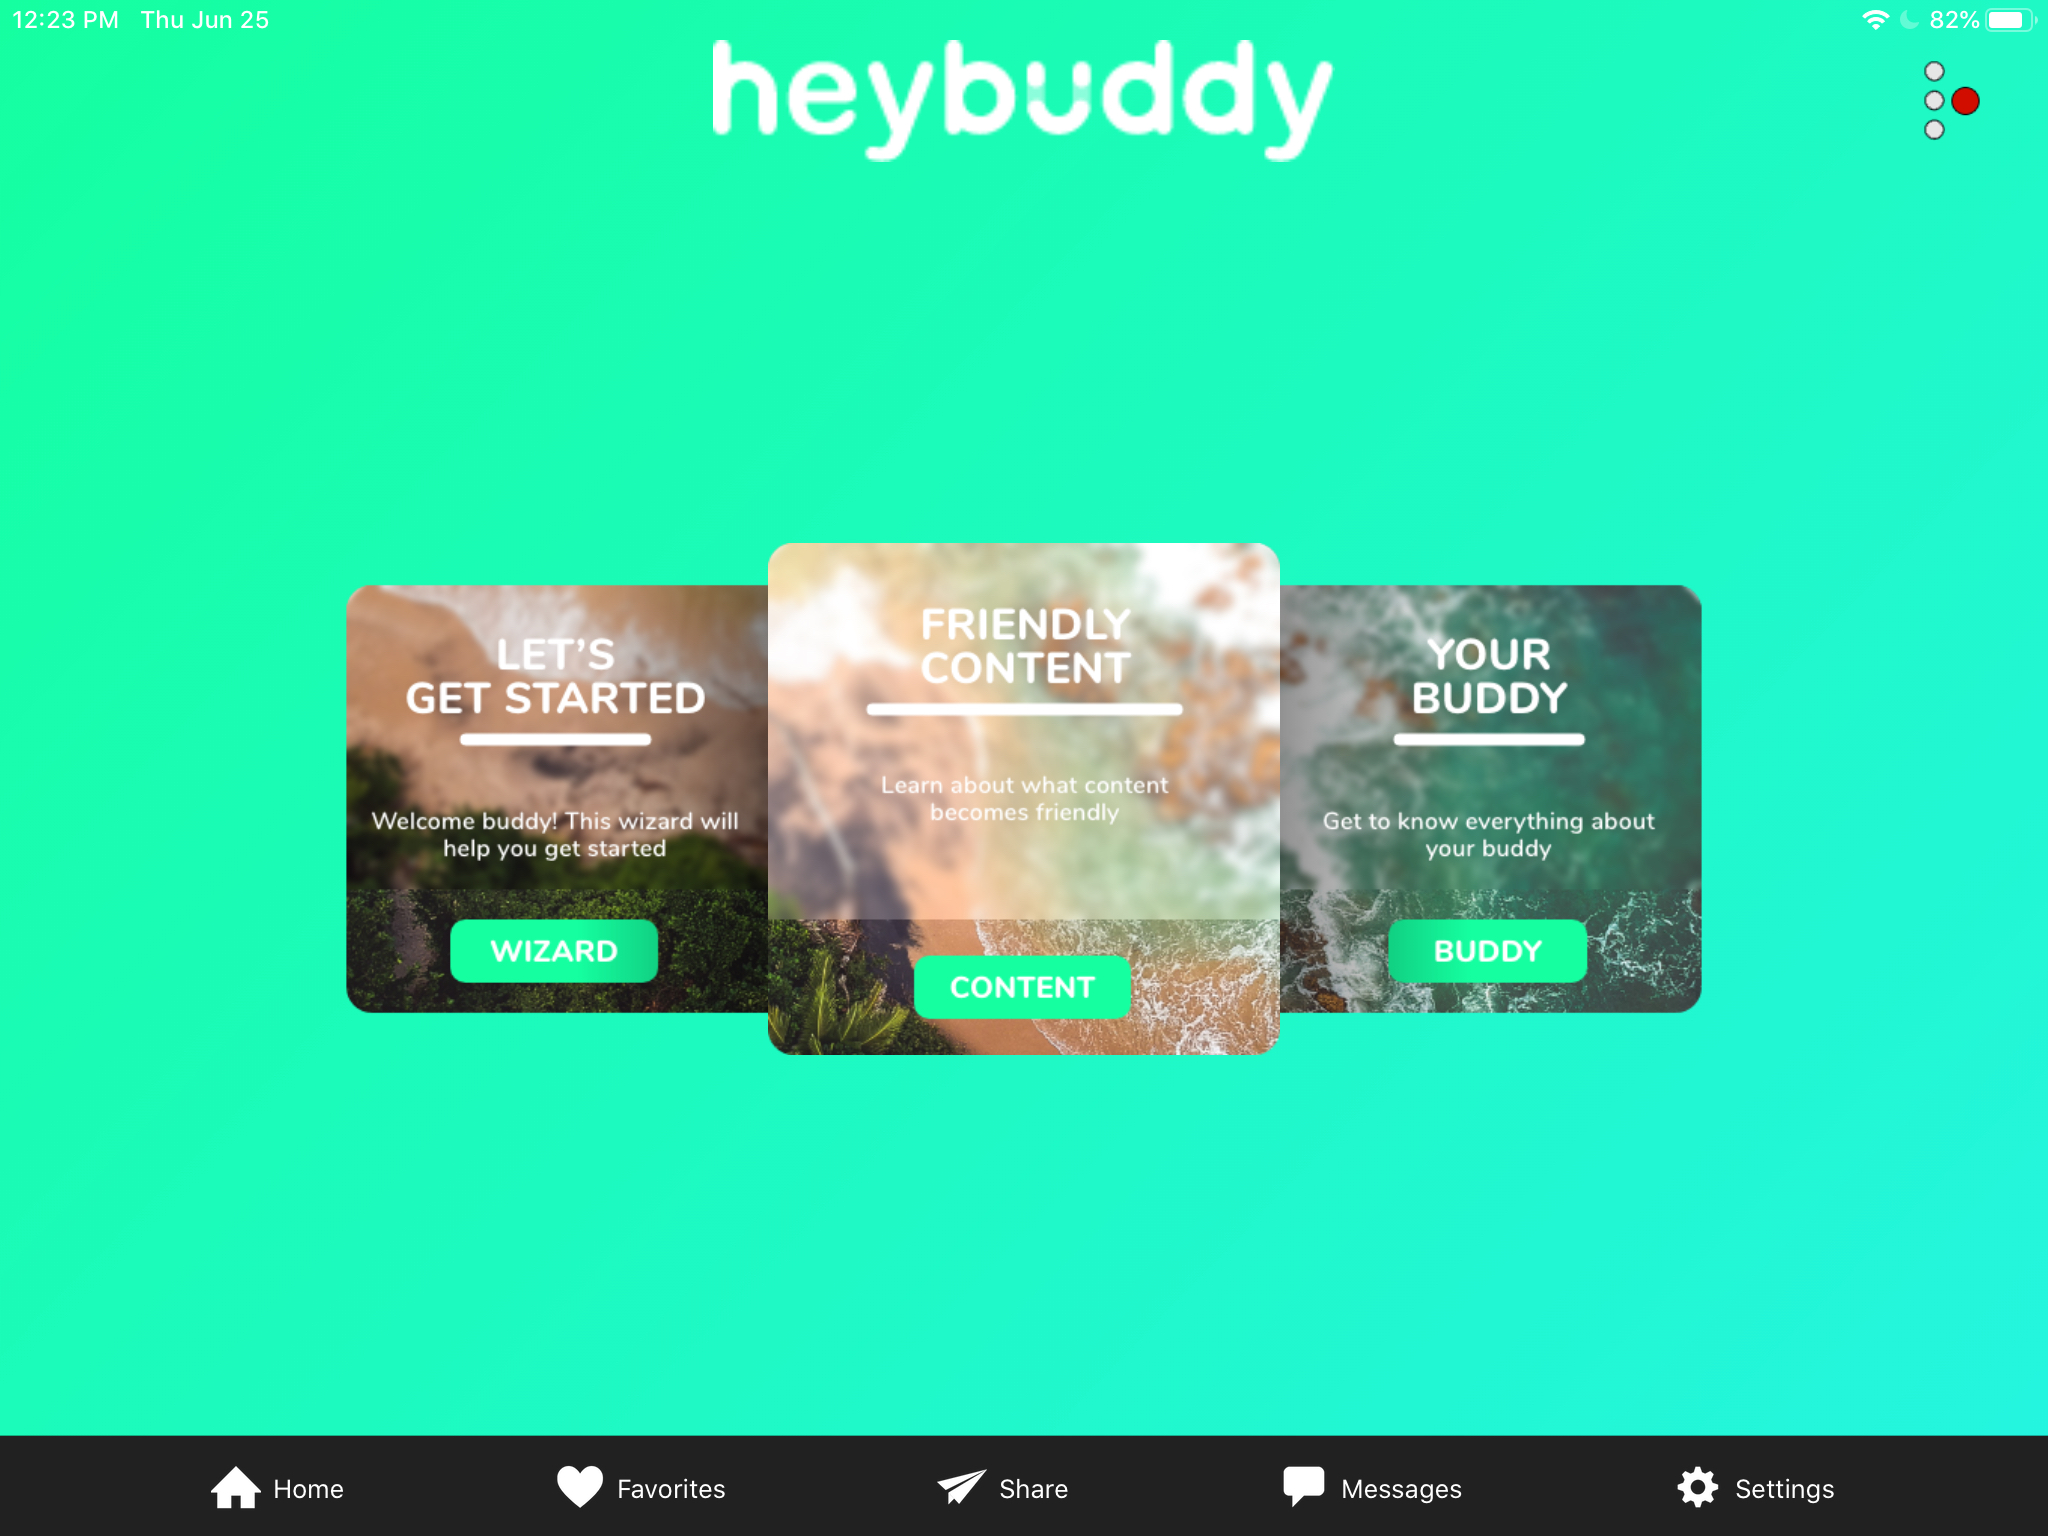
After clicking OK, you will see a red dot icon next to Actions Menu as your visual indication of an active "recording" of a new presentation.
Navigate through your content as you normally would, knowing that all of the content tapped through will be saved into a presentation, allowing a simple way to follow up with clients, post-meeting.
After you are done with the presentation, tap the Actions Menu and click "Save As".

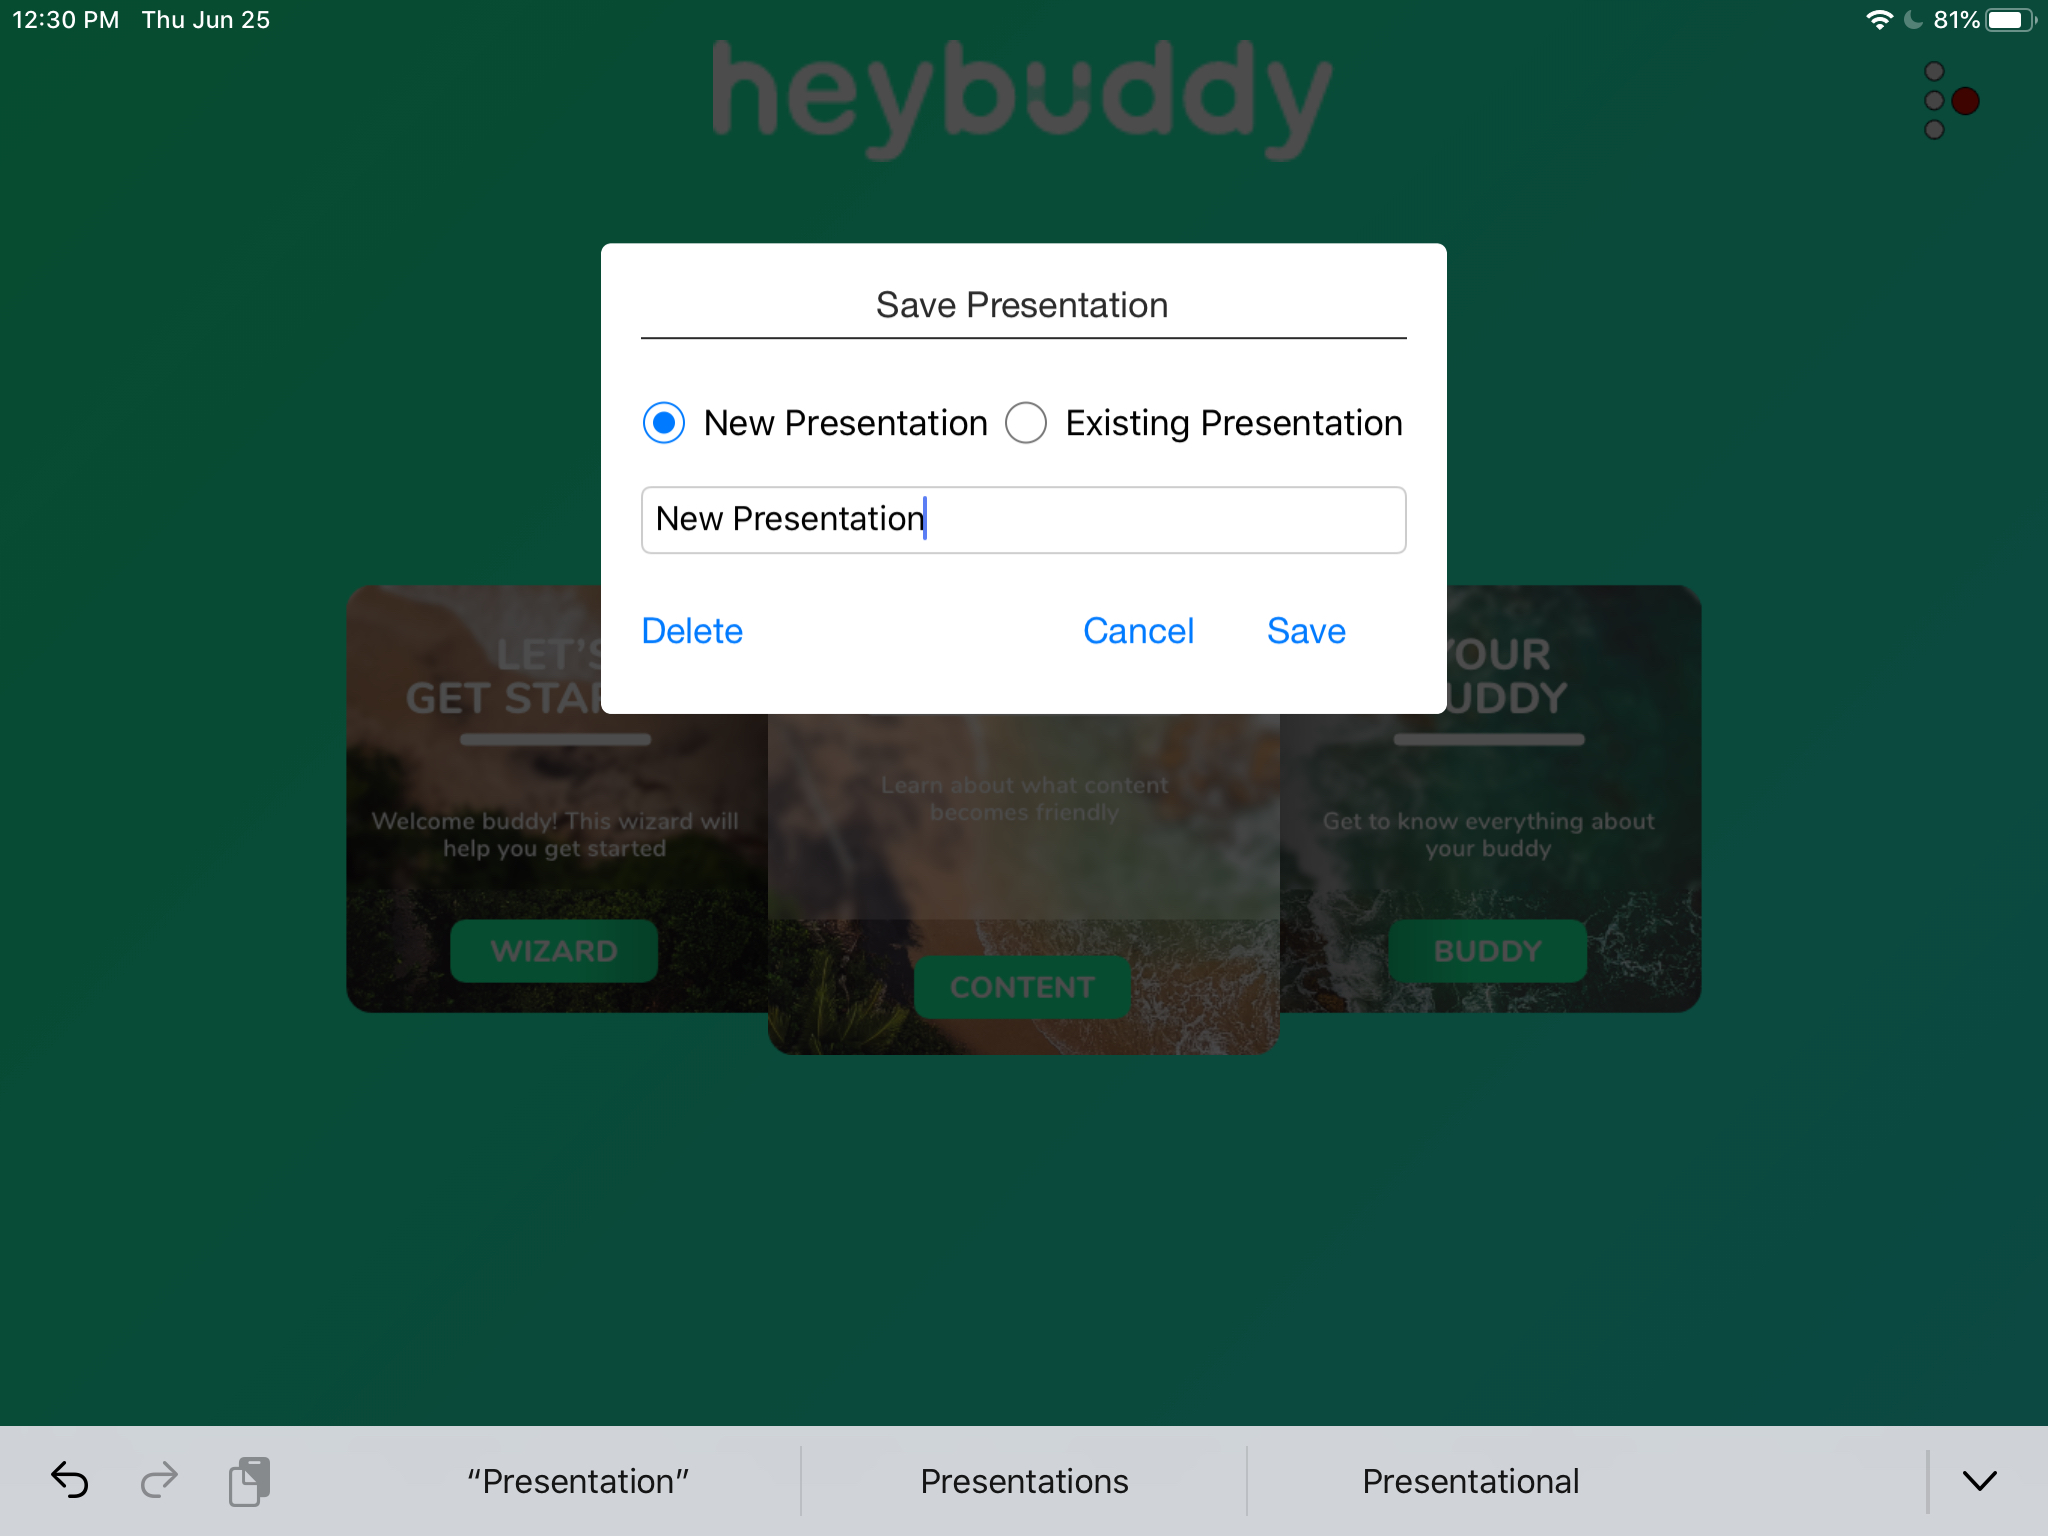
You will then be given the option to save that presentation as a New Presentation, or to add that content into an Existing Presentation that you created previously.
To save the presentation as a New Presentation, simply select the New Presentation radio button, enter a unique name and then click Save.
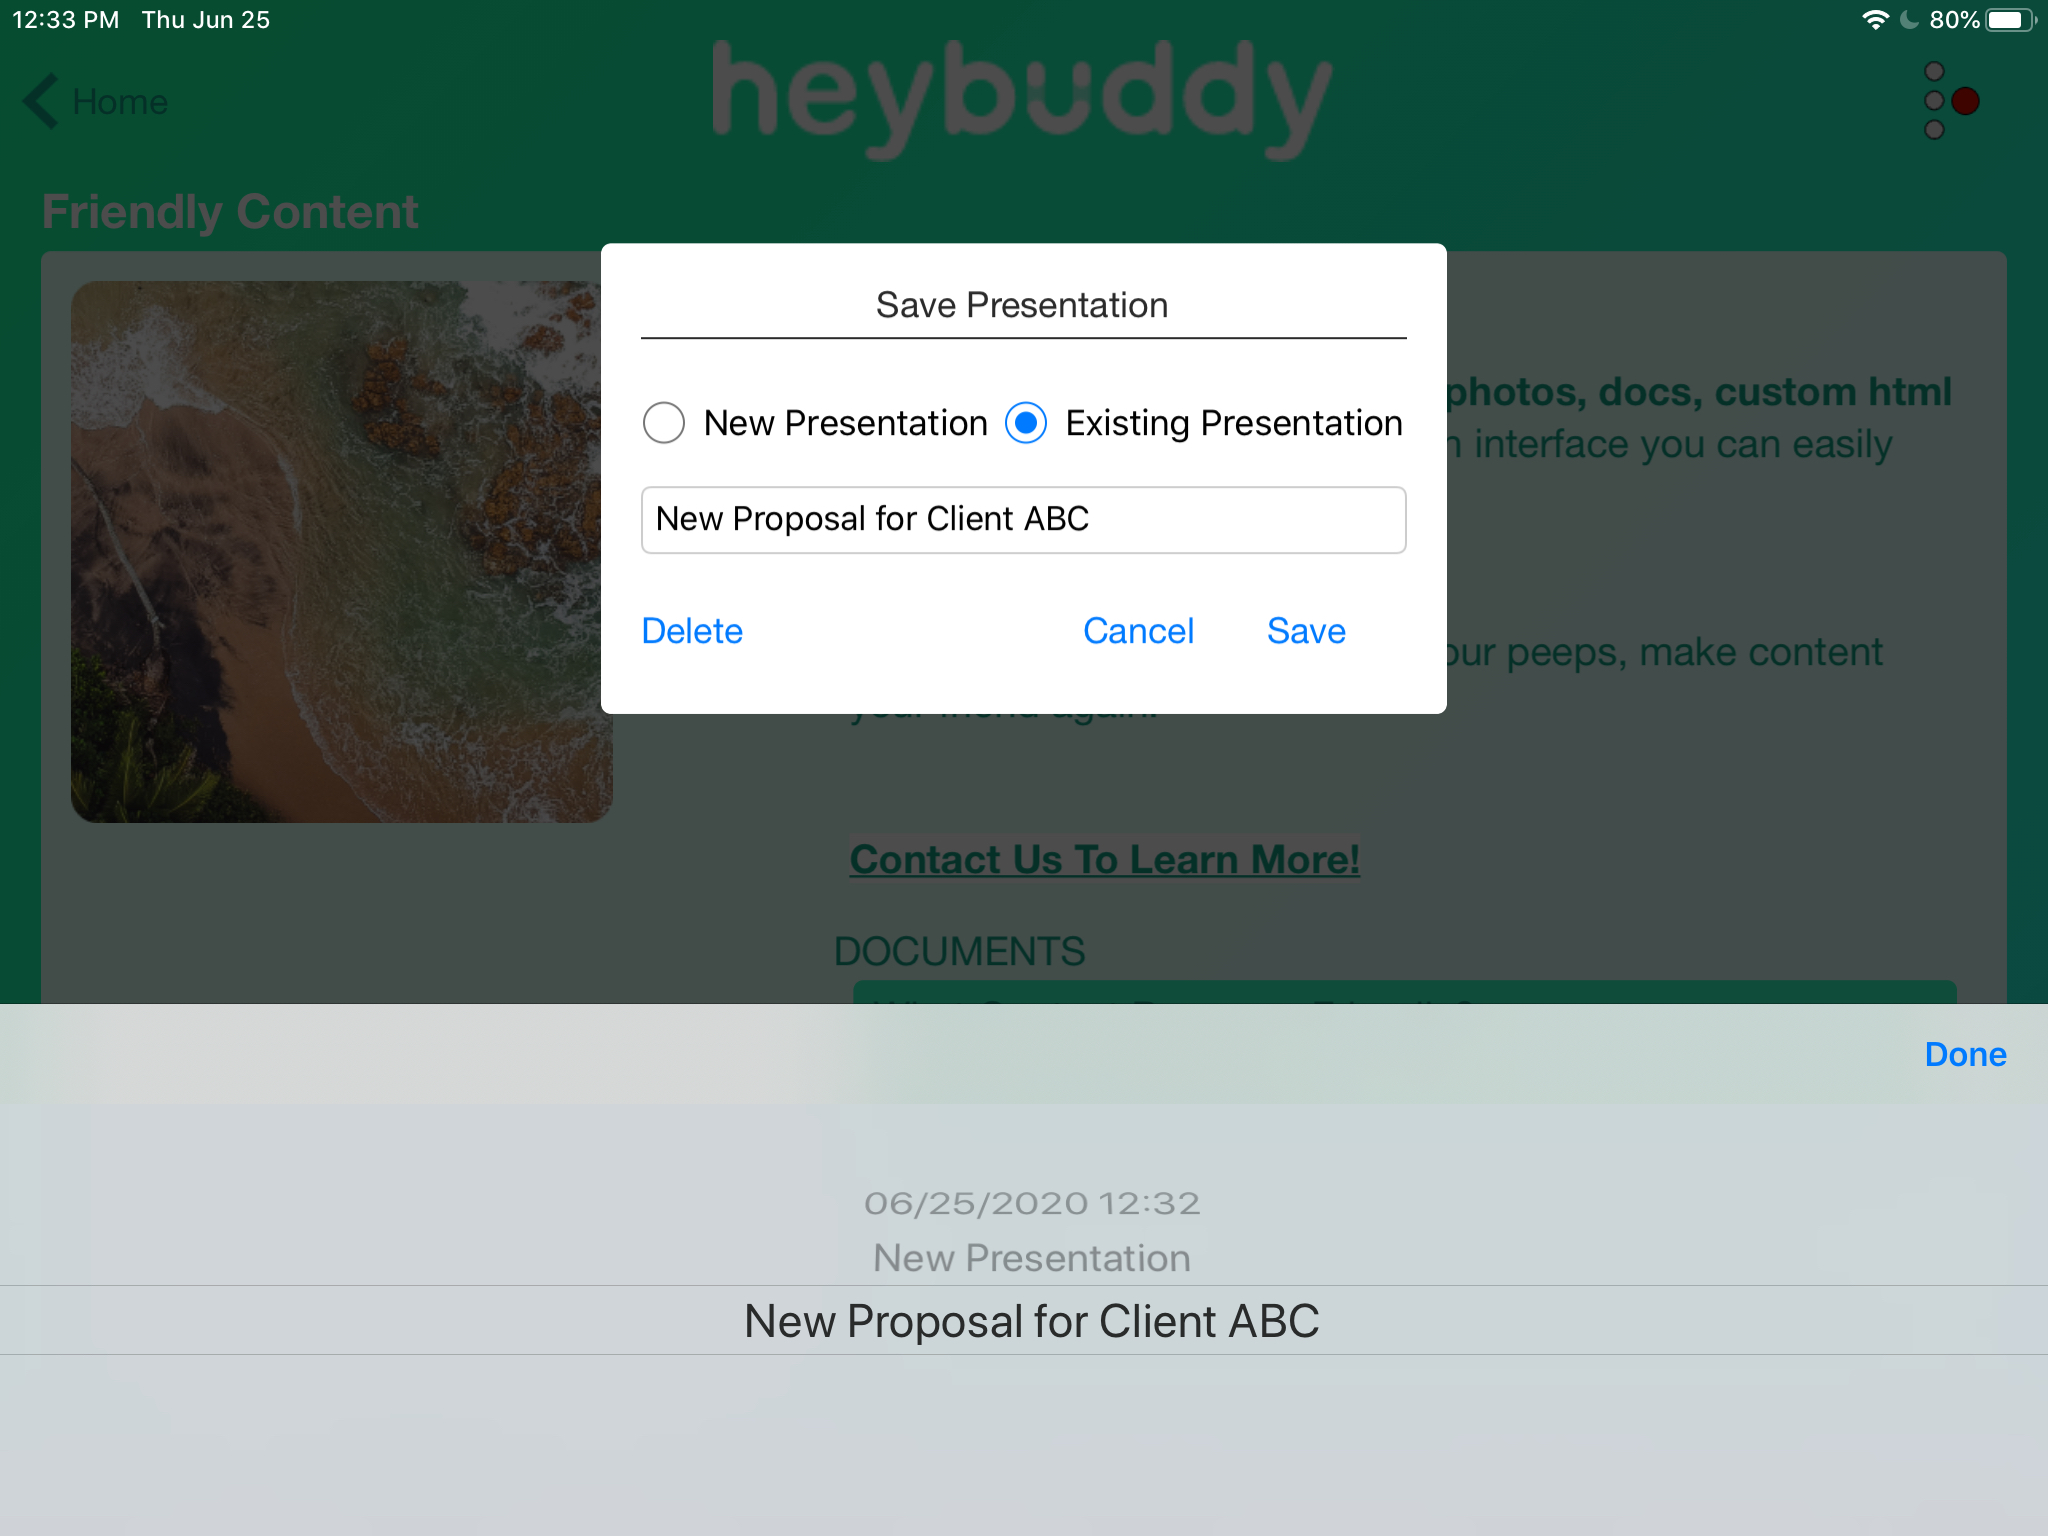
To add that content to an Existing Presentation, simply select the Existing Presentation radio button then place your cursor inside the name field. This will present a list of all previously created presentations for you to select from. Select the presentation to which you want to add this content and then click Save.
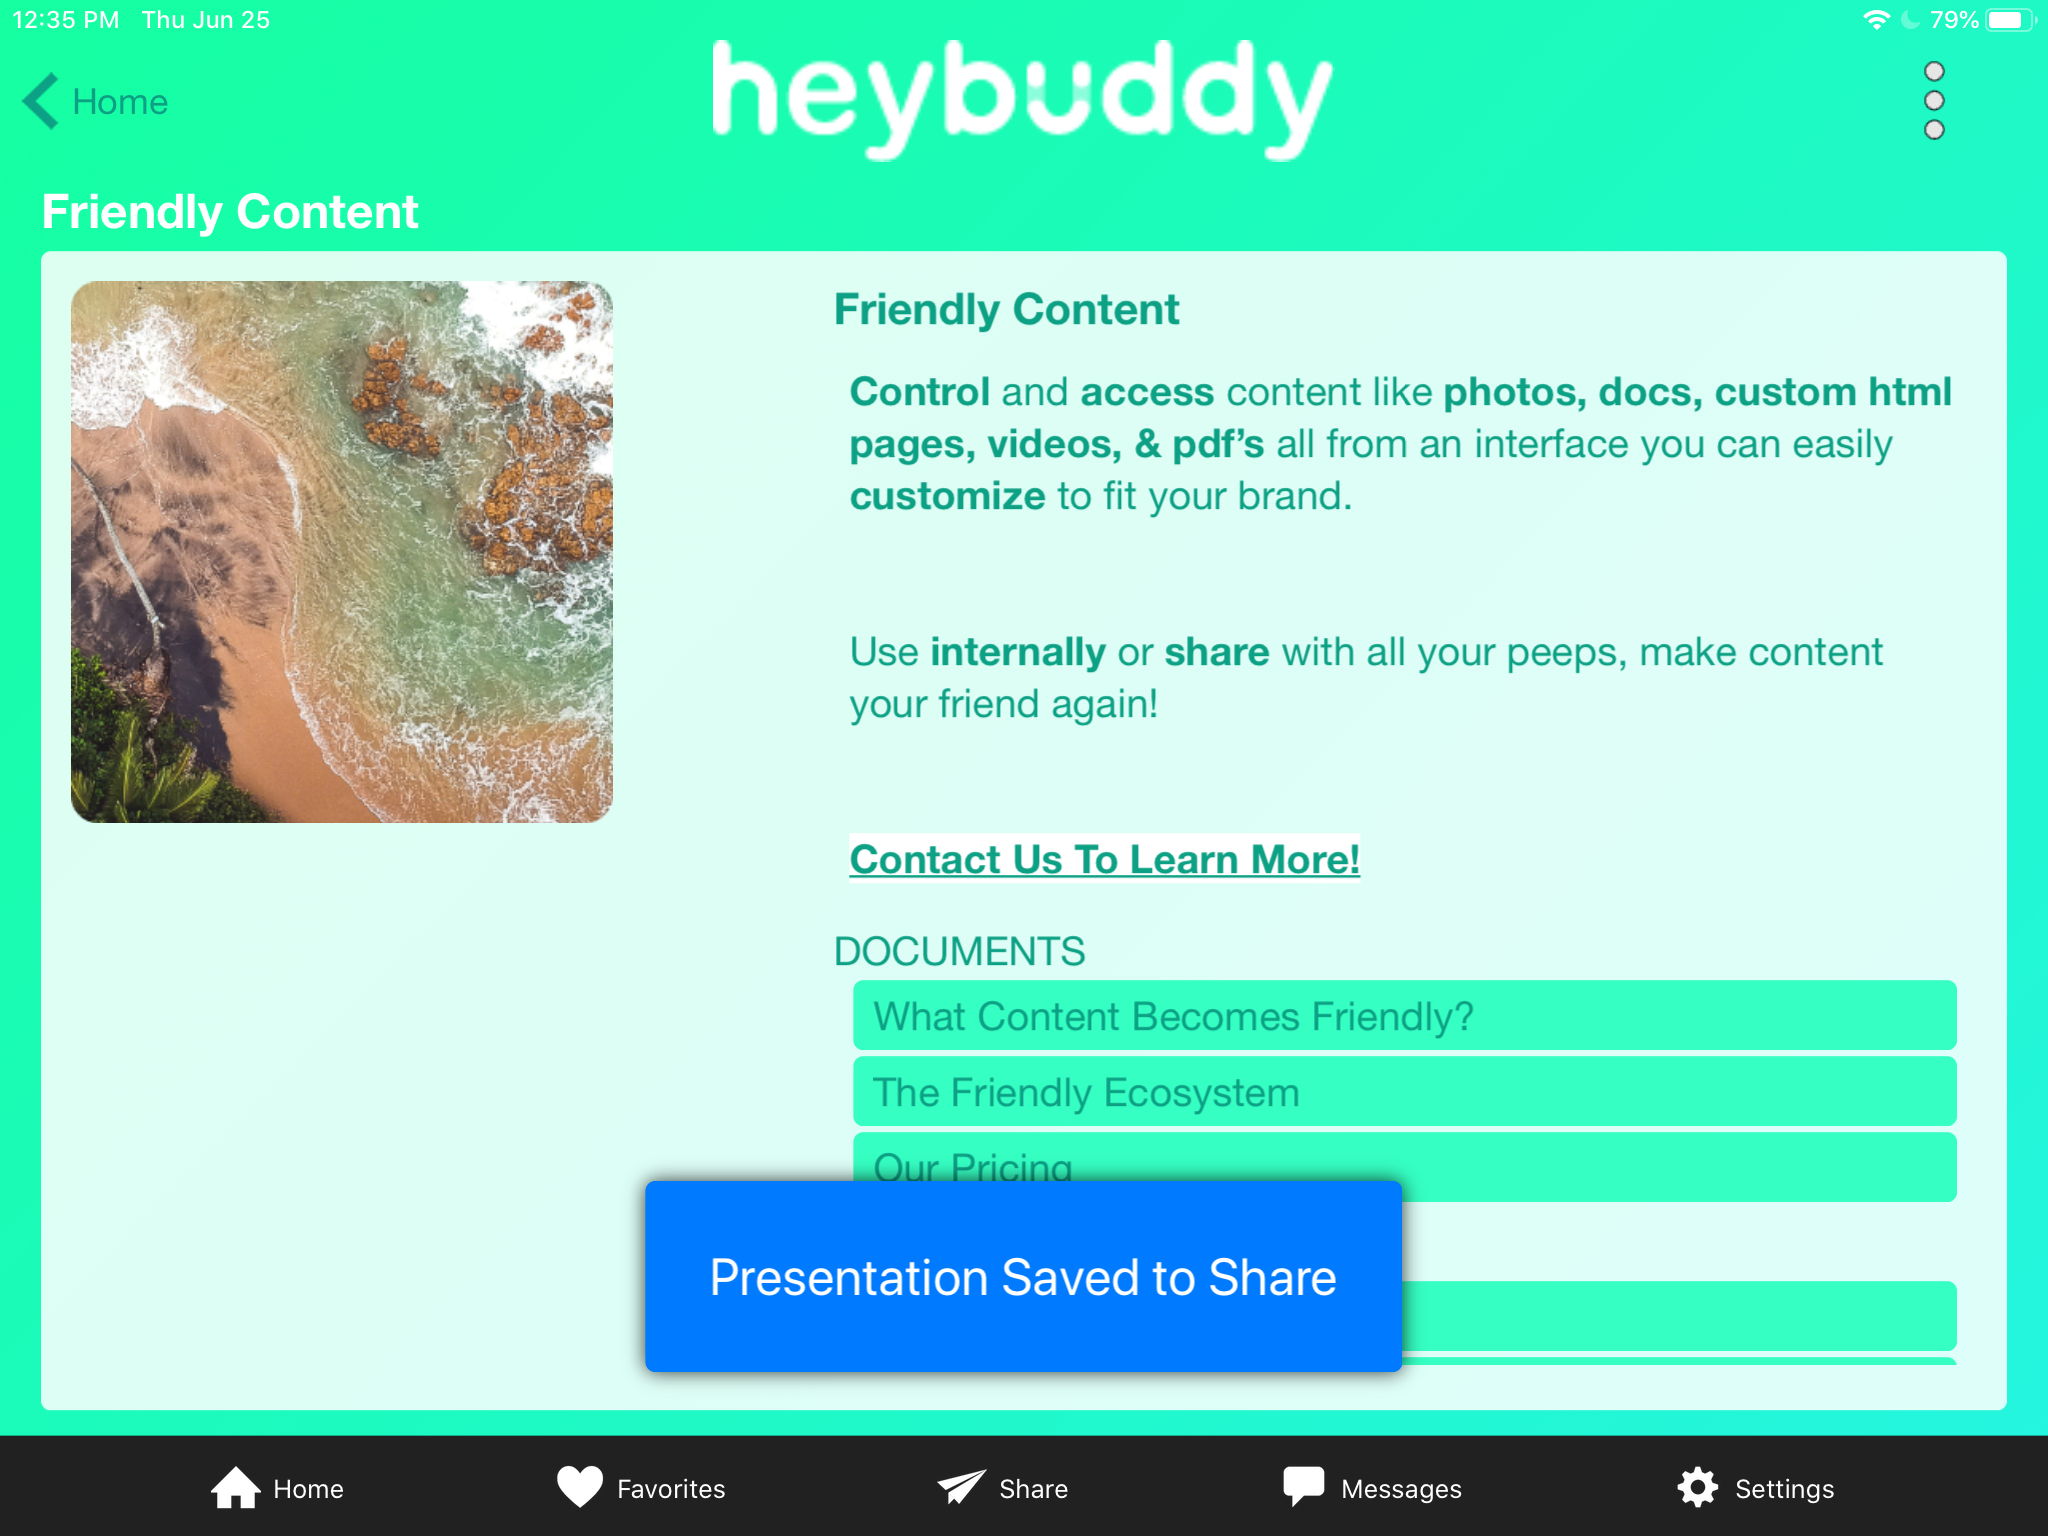
In either case, after pressing Save you will receive a success message that your presentation has been saved to your Share page and is ready for you to review, edit, and share with others.
If you decide you're not ready to save your presentation, simply click the Cancel button and you'll continue recording the presentation - you'll see the red dot icon persist next to the Actions Menu.
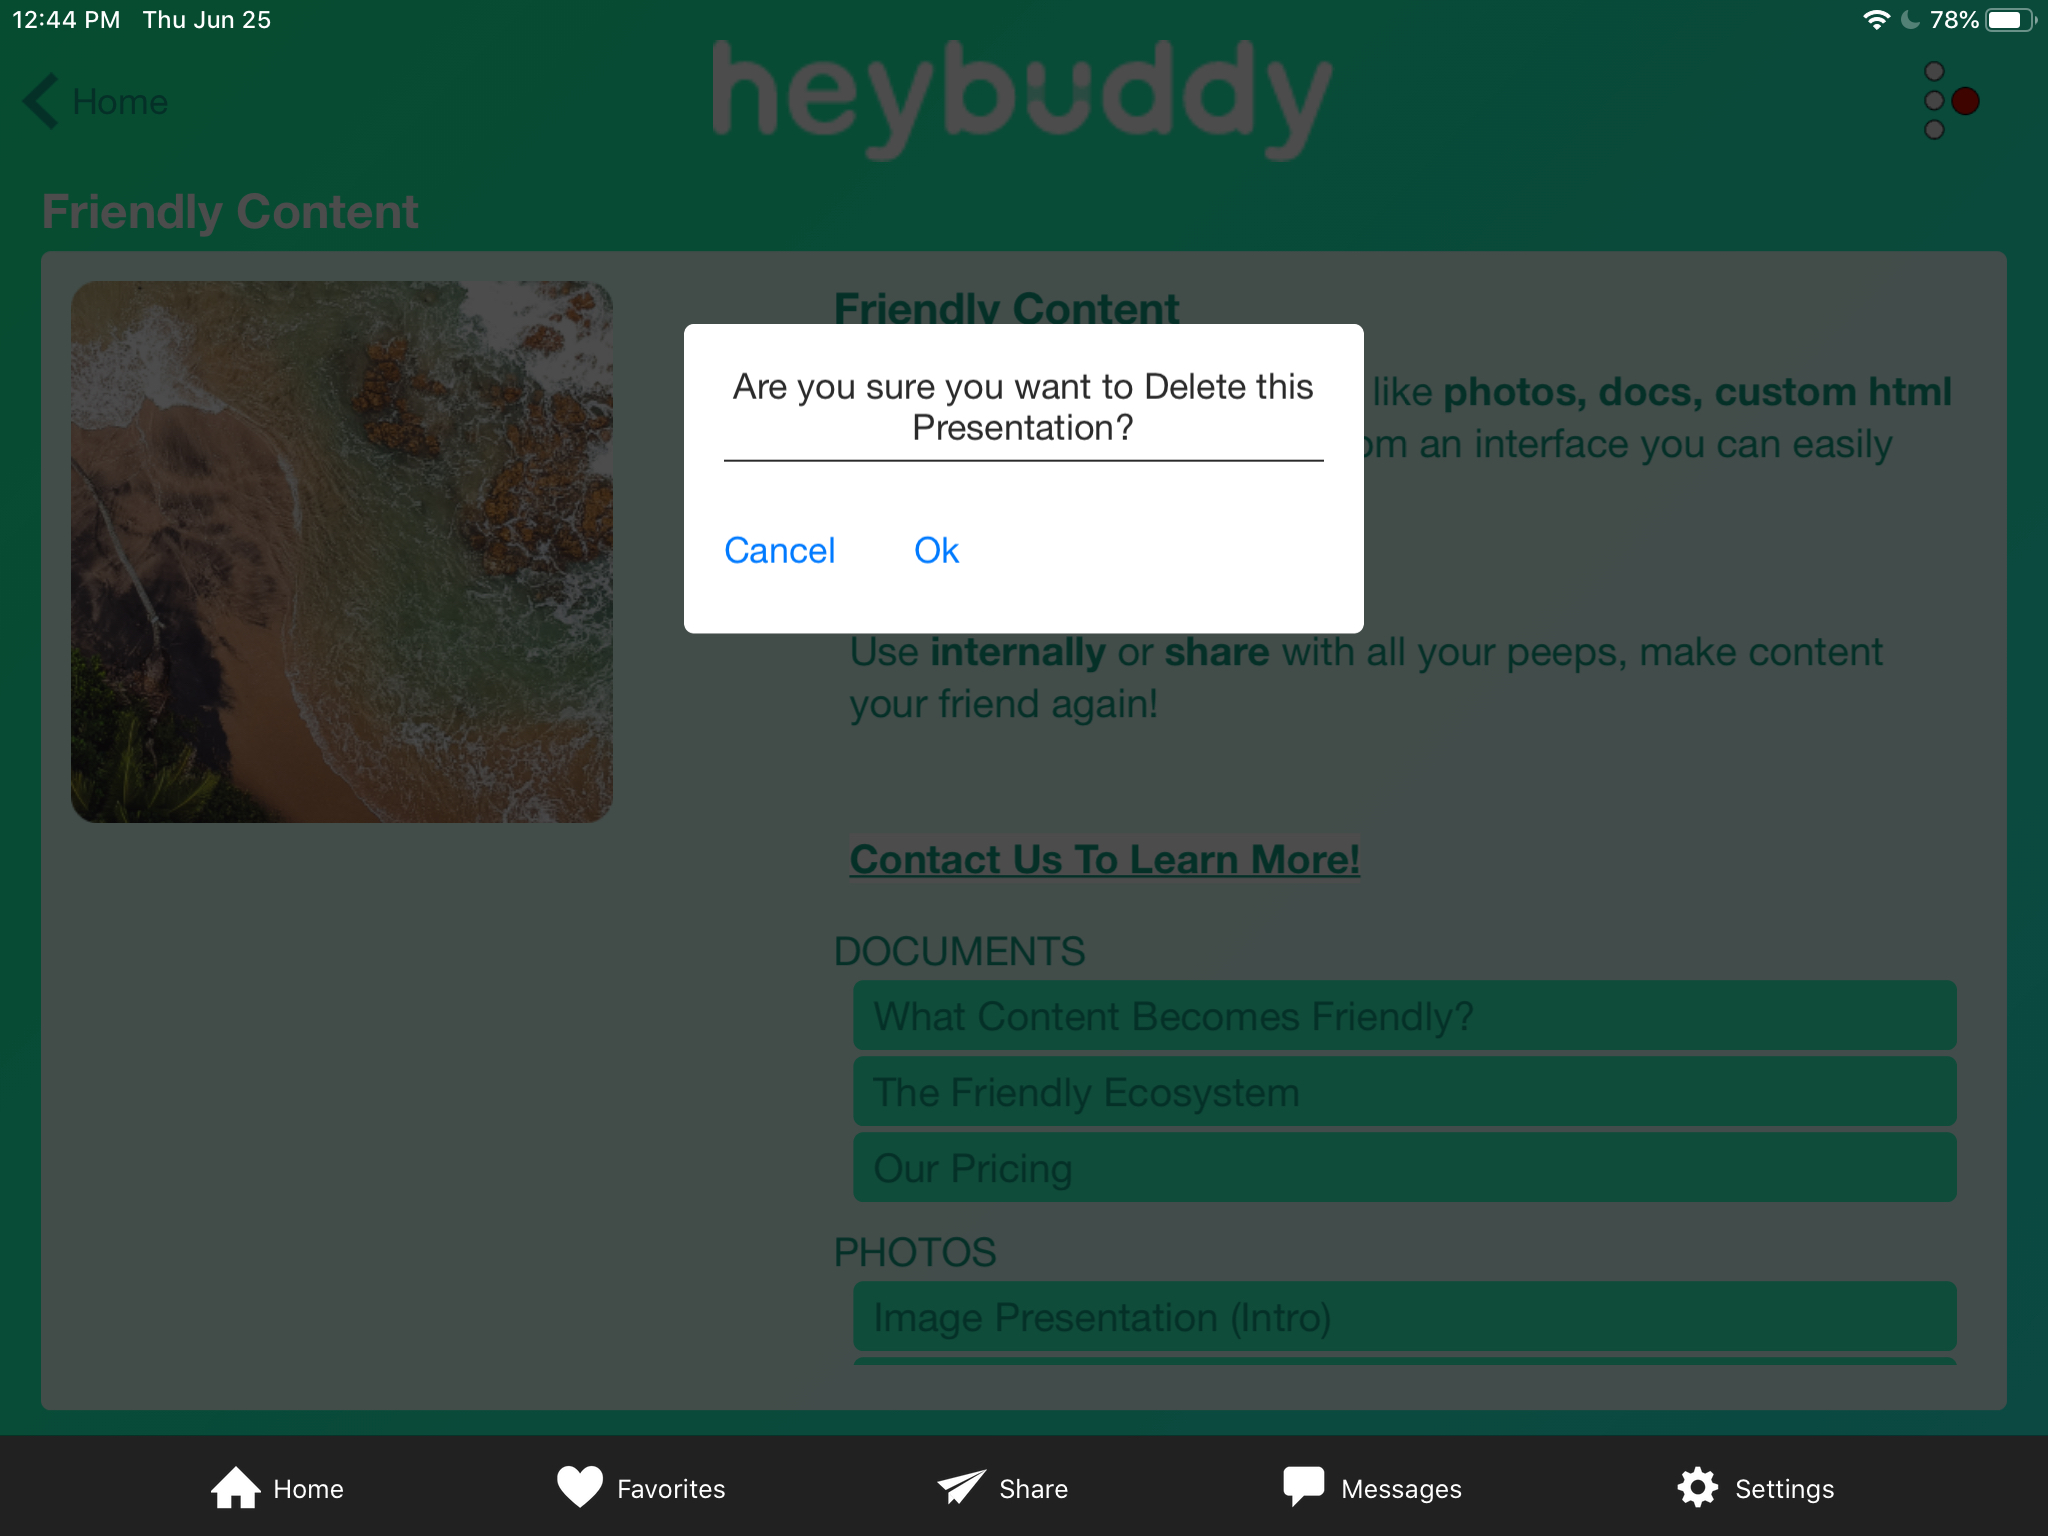
If you want want to delete that presentation altogether, simply click the Delete button. You'll receive a confirmation menu. Click OK to confirm delete. Click Cancel to go back to the Save Presentation window.