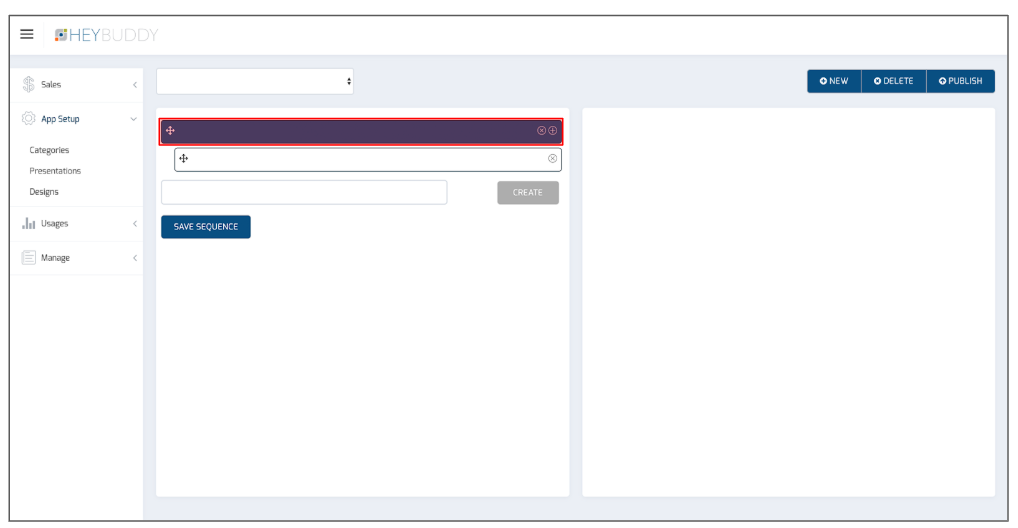
To add Content to a Category, first select/highlight the Category that you want to work with.
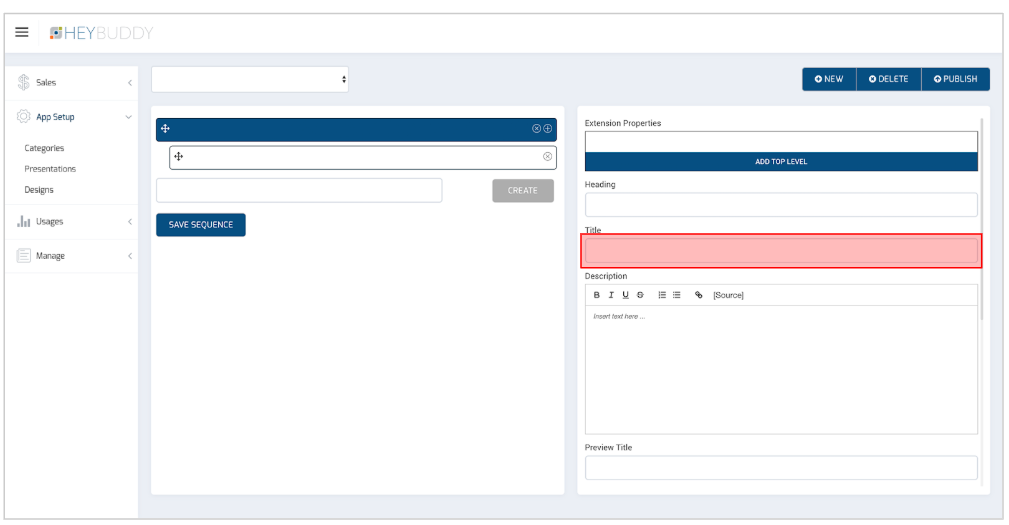
The Title of the Category will populate the Title field on the right side of the screen. You can also edit the Title here on the right side of the screen and it will update the Category Title on the left side of the screen.
Also, add a Description here to summarize this Category.
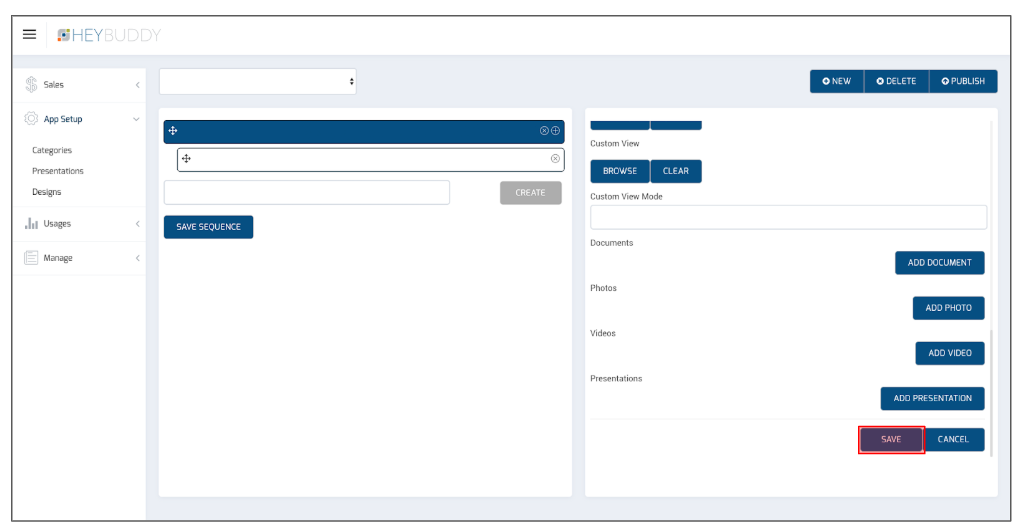
Be sure to SAVE changes at the bottom of the right side of the screen (scroll all the way to the bottom).
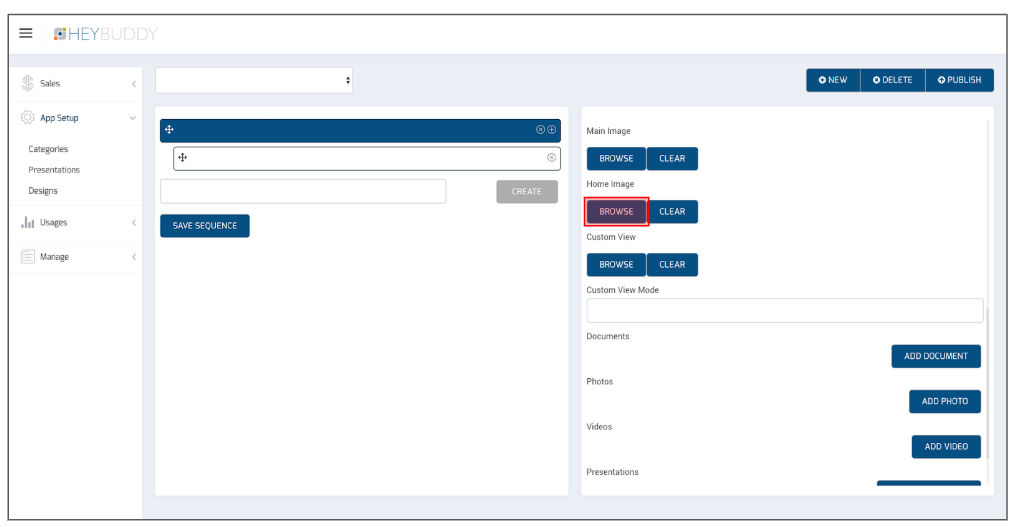
To add a Home Image for the Category, click Browse to select an image to represent the Category on the Home Screen.
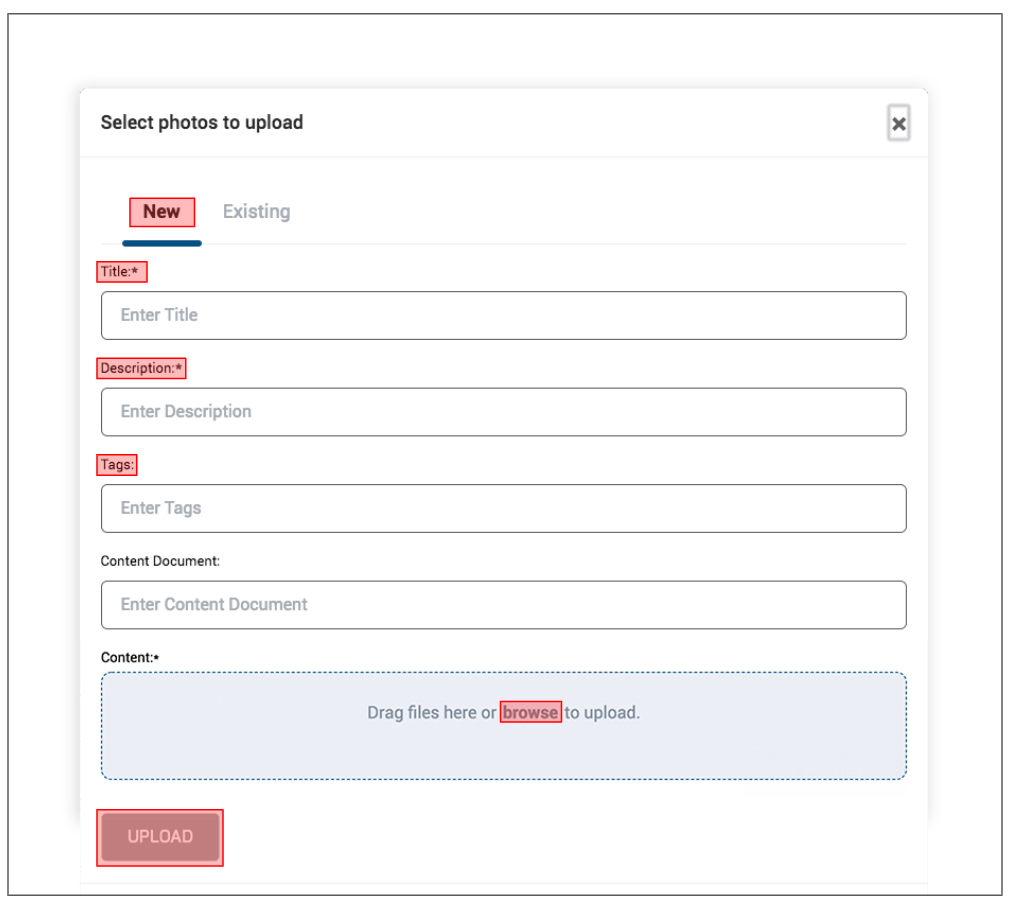
Click the New tab to upload an image from your PC’s image library. Click the browse link button to browse for an image from your PC. Enter a Title and a Description of this Image - these fields are required. Then click the UPLOAD button.
Refer to the Image Requirements document for image ratio requirements.
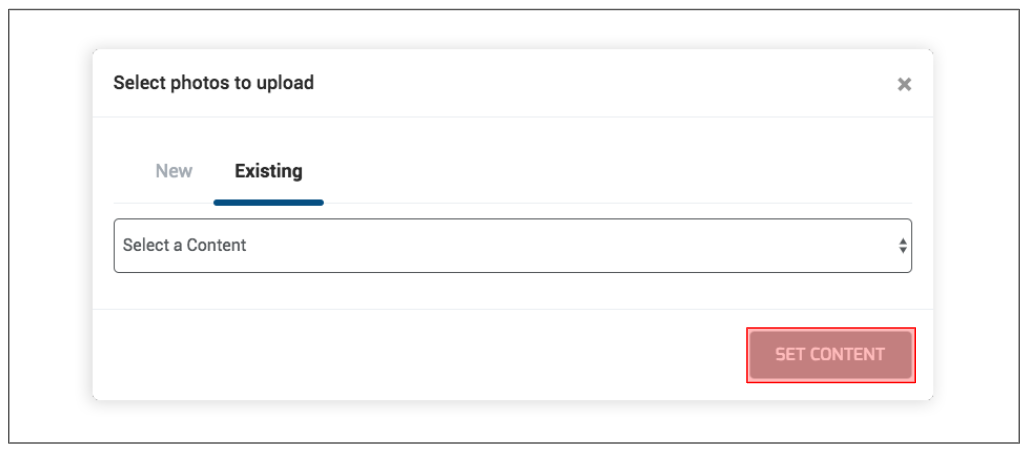
Click the Existing tab to select an image from a list of existing image options in the dropdown box. After selecting the desired image, click the SET CONTENT button.
Be sure to SAVE changes at the bottom of the right side of the screen (scroll all the way to the bottom).
A preview of the image will now appear under the Home Image section on the right side of the admin panel screen.
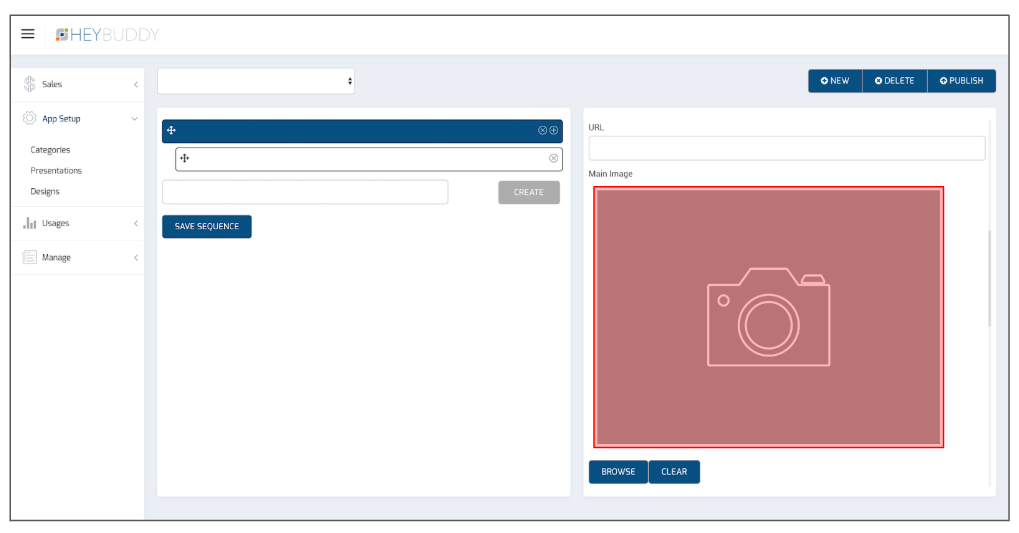
To add a Main Image for the Category, click BROWSE to select an image to represent the Category on the main Category page and repeat the previous steps above to either upload a new image, or select an existing image.
To delete an image that’s been previously added, click the CLEAR button.
Be sure to SAVE changes at the bottom of the right side of the screen (scroll all the way to the bottom).

Scroll down to this area of the screen to add Documents, Photos, Videos, and/or Presentations to the Category
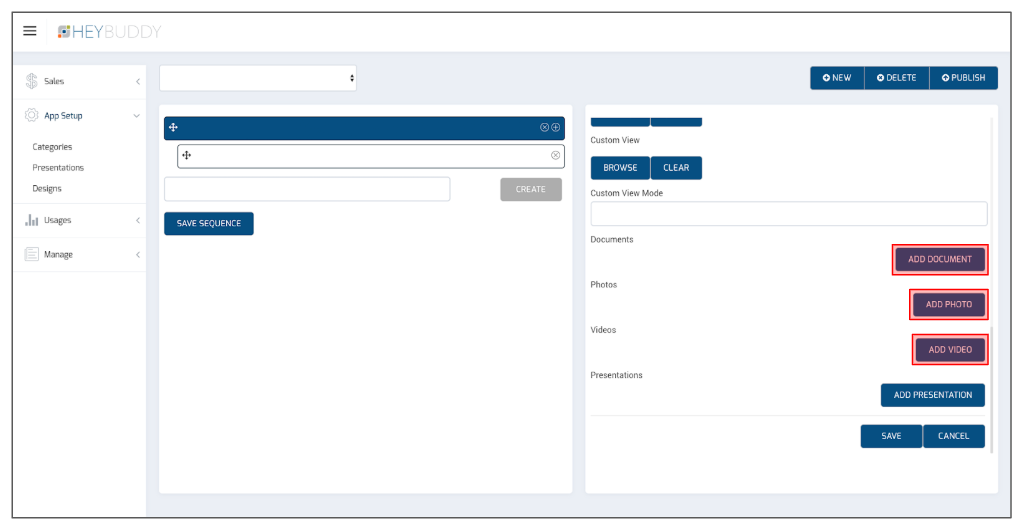
After clicking ADD DOCUMENT, select the New, Existing or External tab to add a document file. The only document types supported at this time are Word (.doc) and PDF files.
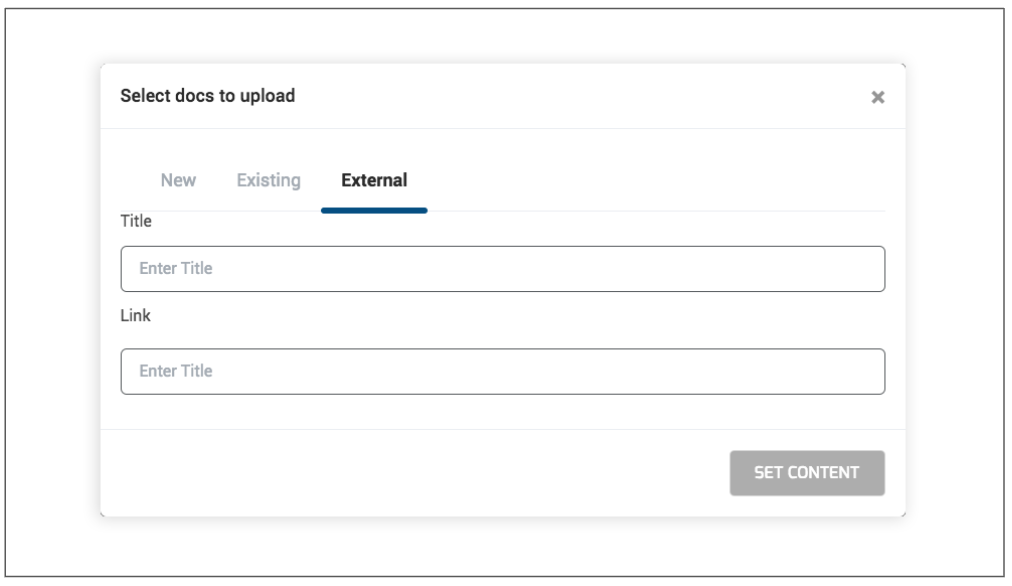
The External tab allows you to add URL links as document content. Simply add a Title for the link and then copy and paste the URL in the Link field. Then select SET CONTENT.
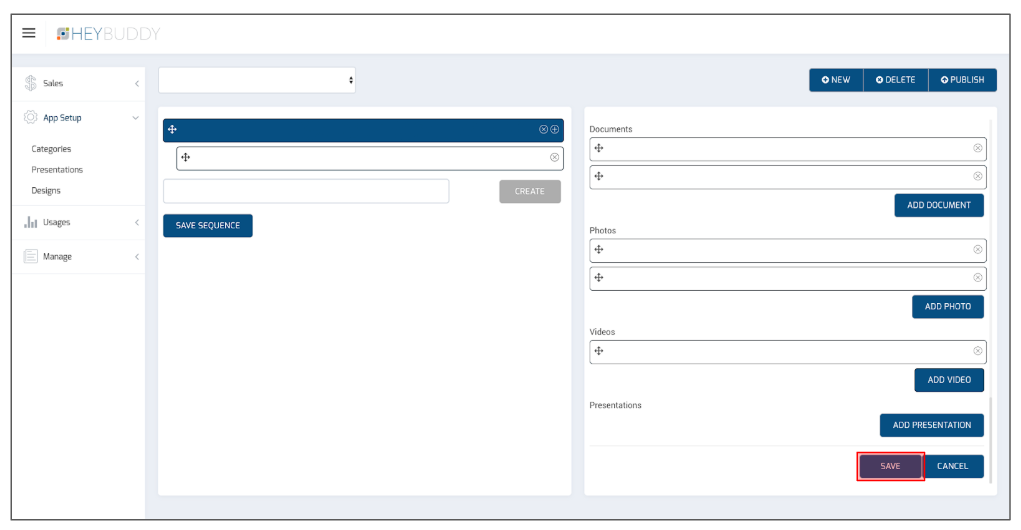
After adding content, all files will show up as previews on the right side of the admin panel. You can continue to add as many files under each category as needed.
Be sure to SAVE changes at the bottom of the right side of the screen (scroll all the way to the bottom).
To manage content, click and drag any individual piece of content into the desired order.
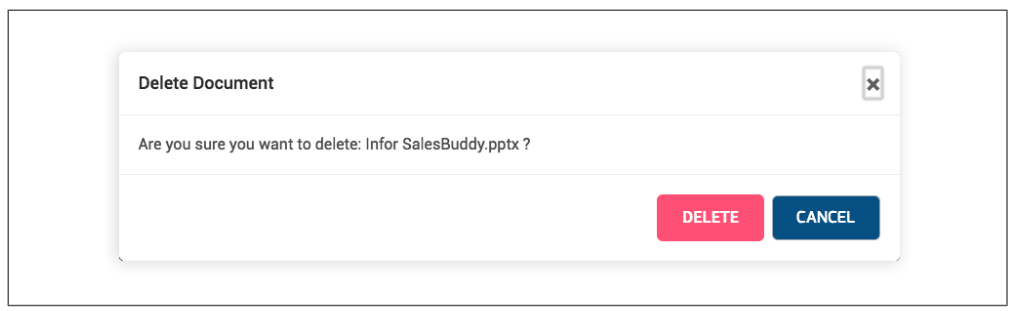
To delete content, simply press the X button to the right of any individual piece of content. You will receive a confirmation screen - press DELETE or CANCEL.
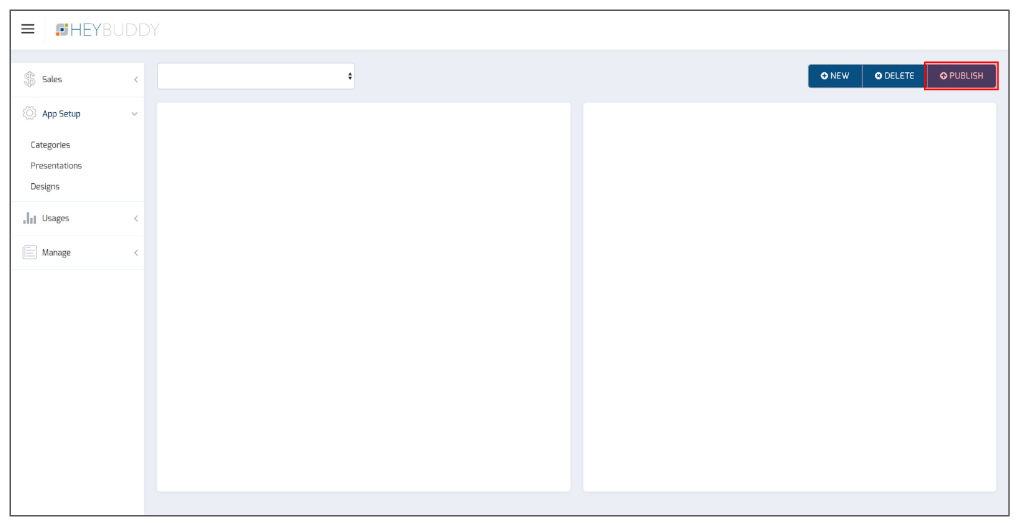
Publish your changes.